What causes asphalt cracks? Learn how water, traffic, heat, poor drainage, and weak base preparation damage pavement - and how to plan lasting repairs.

How Many Bar Chairs Are Required Per Slab?
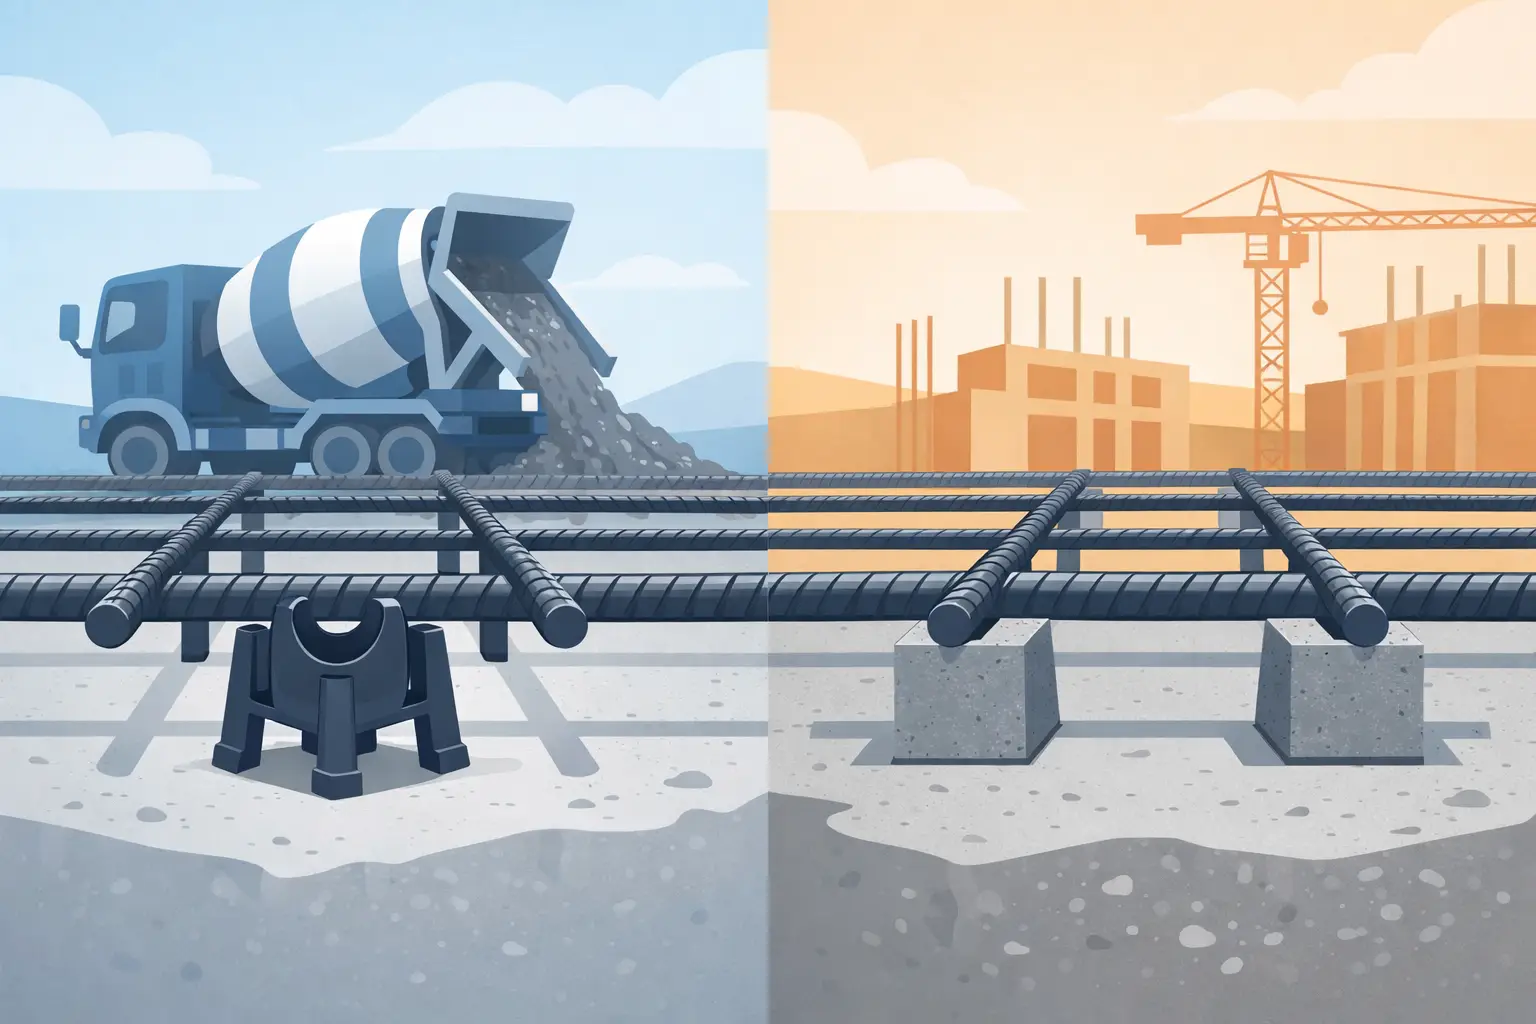
A reinforcement mat can look properly tied before the pour and still fail its job if it drops onto the vapor barrier, subbase, or bottom formwork. Bar chairs hold the steel at the specified level so the concrete can achieve the required cover and the reinforcement stays where the engineer designed it to work.
So, how many bar chairs are required? There is no single chair count per sheet, per ton of steel, or per cubic yard of concrete. The right quantity depends on the chair spacing shown on the plans, the size and stiffness of the reinforcement, the chair height, the number of steel layers, and how much site traffic the mat will take before concrete arrives.
For ordering purposes, work from the support layout, not a rough guess. A few missing chairs can turn into a low mesh area, poor cover, delays at inspection, or a crew lifting steel during the pour instead of placing concrete.
How Many Bar Chairs Are Required? Start With the Layout
The most reliable method is to calculate chairs from a grid. If the drawings specify chairs at 4-foot centers each way, divide the supported slab area into a grid with no gap greater than 4 feet. Count the chair locations, then add chairs where the standard grid does not provide enough support.
Use the dimensions of the area being reinforced, not just the total concrete area. Exclude openings, thickened edges where the reinforcement arrangement changes, and sections that use a different bar or mesh detail. For a slab with several reinforcement zones, calculate each zone separately. This prevents both over-ordering and the more expensive problem of stopping work to source extra chairs.
A practical estimating formula is:
Number of chairs = chairs along the length x chairs along the width
To find each direction, divide the supportable dimension by the maximum chair spacing, round up, and allow for the required edge offset. The edge offset matters because the first chair is usually set in from the formwork rather than placed directly at the slab edge. Always check the project detail before fixing your final count.
For example, consider a 20-foot by 30-foot slab using a maximum 4-foot chair grid. The 20-foot direction needs five spaces, or six support lines. The 30-foot direction needs eight spaces to keep every gap at 4 feet or less, or nine support lines. That gives a starting count of 54 chairs.
That is the grid count, not necessarily the order quantity. Add extra support at sheet laps, around penetrations, at changes in reinforcement level, and in access paths where workers will walk or wheel materials across the steel. A clean rectangular calculation is useful, but site conditions decide the final number.
Chair Spacing Depends on the Reinforcement Being Supported
Chair spacing is not a universal rule. Light welded wire mesh can bridge a greater distance than loose small-diameter bars in some conditions, while heavier bar mats, double-layer steel, and congested reinforcing often require closer support. The objective is simple: the reinforcement must remain at the correct elevation without noticeable sagging or movement.
Mesh should be supported so it stays in its intended position through placement, vibration, and finishing. If workers can press the mesh down to the bottom of the slab with a boot, the chair layout is too wide, the chairs are too light for the load, or both. Pulling mesh up with hooks during the pour is not a substitute for a properly chaired mat.
For single-layer slab mesh, a regular grid is usually the fastest layout to install and check. Use closer centers at overlaps because lapped sheets carry more steel and are stiffer in some directions but can still dip between supports. Wide sheet laps are also common places for workers to step while tying, so they deserve attention before the pour starts.
Rebar grids need the same approach, with more focus on bar size, bar spacing, and tying sequence. A grid of heavier bars can put concentrated load onto each chair, especially where perpendicular bars overlap. If there are bundled bars, closely spaced bars, or several laps in one location, use the support arrangement detailed by the engineer rather than applying a standard mesh-chair pattern.
Chair Height Is as Important as Chair Quantity
A chair can be correctly spaced and still be wrong if it does not provide the specified cover. Select the chair height to suit the required distance between the reinforcement and the concrete face, accounting for the bar or mesh diameter and the position shown on the drawings.
Bottom cover, top cover, side cover, and cover against earth are not interchangeable requirements. A slab cast over a membrane has different support conditions from a footing placed against soil, and a suspended slab has different needs again. Use the project drawings and applicable code requirements as the authority for cover. Do not choose chair height by matching what was used on the last job.
For two layers of reinforcement, the bottom layer needs support from the formwork or subbase, while the upper layer needs chairs, continuous high chairs, or another approved support system that holds it above the lower mat. Count the supports for each level. One layer does not automatically support the next.
Add Chairs Where the Grid Is Not Enough
A standard grid is only the base layout. Reinforcement behaves differently at edges, laps, openings, and transitions. These areas are where crews often need extra chairs to keep the steel aligned during final checks and concrete placement.
Add support where reinforcement overlaps, particularly if multiple sheet laps meet in one area. Place chairs near service penetrations and box-outs so cut mesh or interrupted bars do not sag into the opening. At slab edges, thickenings, beams, and steps, follow the detail and provide support wherever bars change level or direction.
Construction traffic also changes the chair requirement. If a crew will carry mesh across the slab, wheel equipment over boards, or work repeatedly from one access route, that route may need closer chair spacing or temporary protection. A mat that is level after installation can shift quickly once several people are tying steel or setting services.
The same principle applies to footings and walls. Footing reinforcement needs chairs or spacers that maintain bottom and side cover without tipping under the cage. Wall steel needs approved spacers that keep bars clear of the forms and maintain the specified cover on both faces. Do not assume slab chairs are suitable for every vertical or heavily loaded reinforcement application.
Build a Practical Order Quantity
Once the layout count is complete, separate the chairs by height and type. Ordering one combined total can cause trouble when a job needs low chairs for mesh, taller chairs for a top mat, and different spacers at edges or walls. Label each reinforcement zone on the takeoff so the crew knows where each product belongs.
Include a sensible site allowance for breakage, uneven ground, changed lap locations, and last-minute detailing around penetrations. The allowance should be controlled, not arbitrary. On a simple, well-defined slab, a small contingency is usually enough. On a large slab with multiple pours, double reinforcement, frequent penetrations, or uncertain access routes, allow more and confirm the final arrangement with the placing crew.
Do not use the allowance to cover an incomplete takeoff. First count the grid, then count known extras, then add a modest contingency. This gives purchasing a clear quantity and makes it easier to check deliveries against the job requirements.
Check the Chair Plan Before Concrete Arrives
Before the pour, walk the reinforcement with the drawings in hand. Check chair spacing, chair height, mesh laps, bar elevations, cover at edges, and support around penetrations. Look for chairs that have sunk into soft subgrade, tipped on uneven surfaces, or shifted while the mesh was tied.
Pay close attention to the pour start point and the concrete pump access route. These areas take the most disturbance. If the reinforcement moves when stepped on, correct it before the first load arrives. It is faster and cheaper to add chairs during the pre-pour check than to manage displaced steel while concrete is being placed.
The best chair count is the one that keeps every reinforcement zone at its specified elevation from installation through finishing. Start with the engineer’s spacing detail, calculate the grid, support the weak points, and order enough chairs to keep the crew moving without compromising cover.
Related Posts