Rebar fabrication services reduce field cutting, support accurate placement, and help concrete crews keep schedules, inspections, and deliveries on track.
House Slab Reinforcement Example: What It Shows
A residential slab can look ready right up until the pre-pour check reveals mesh sitting on the ground, missing trench bars, or no clear cover at the slab edge. This house slab reinforcement example shows how a typical reinforcement layout is read, supplied, and installed on site. It is not a substitute for an engineer’s drawings. The approved structural plans, local code requirements, and project-specific soil report always control the work.
Start With the Slab Plans, Not a Standard Detail
A house slab reinforcement schedule is built around the loads, ground conditions, footing arrangement, slab thickness, openings, and wall layout for that particular home. Two slabs with the same footprint can need very different steel. A flat site on well-compacted ground is not the same as a site with expansive clay, fill, a hillside cut, or concentrated loads from masonry, heavy framing, or a garage wall.
Before ordering material, check the structural drawings for the slab plan, footing or thickened-edge details, reinforcing schedule, sections, lap requirements, and notes. Confirm whether the drawing calls for welded wire reinforcement mesh, deformed reinforcing bar, starter bars, trench mesh, or a combination of these. Also check whether the specified mesh is a standard sheet, a roll product, or a special grade.
The detail should identify bar size and spacing, mesh grade, lap length, concrete cover, and where additional steel is required. Those locations commonly include slab edges, internal ribs, door openings, garage transitions, plumbing penetrations, point loads, and re-entrant corners. If a note is unclear, get direction from the designer or engineer before steel is cut or concrete is booked.
House Slab Reinforcement Example: A Typical Layout
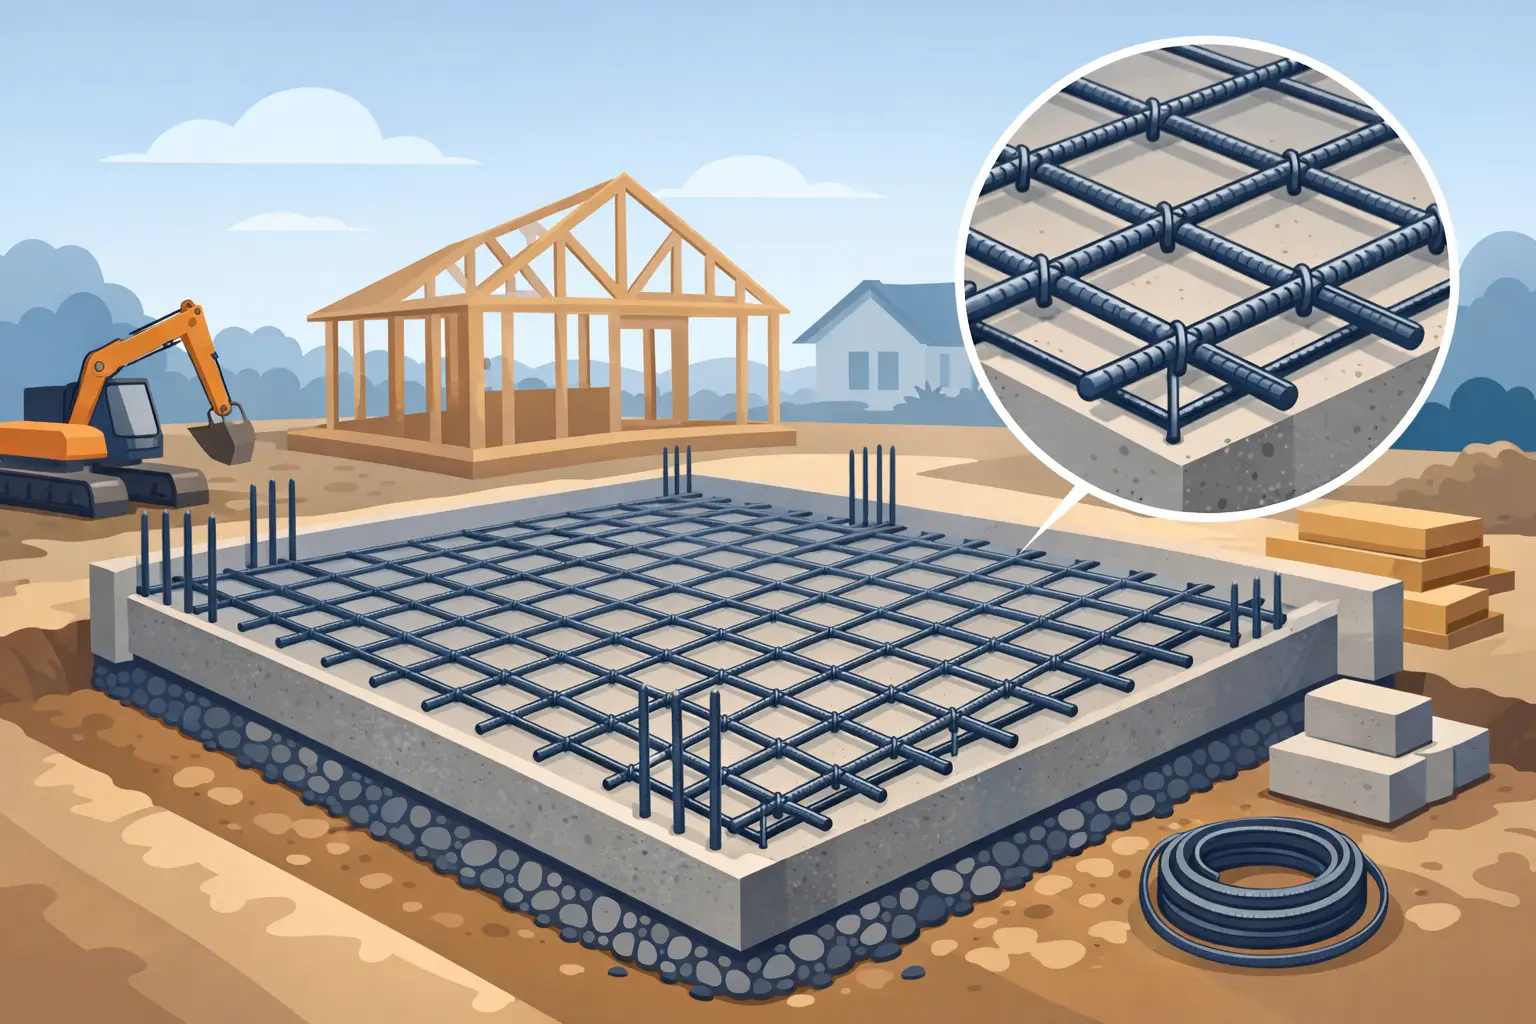
Consider a single-story house slab on a prepared base, with a thickened perimeter edge, several internal grade beams, and a garage section. The engineered drawings may show a main slab layer of welded wire mesh supported above the vapor barrier, with deformed bars in the perimeter and internal beams.
The mesh controls cracking across the slab area and helps hold the concrete together after shrinkage cracking occurs. It does not replace the bars specified in thickened edges or beams. The bars in those areas deal with bending, settlement risk, and concentrated structural loads. Treating mesh as a replacement for beam steel is a costly mistake.
Main slab mesh
In this example, mesh sheets are laid across the prepared slab area after the vapor barrier and required insulation or pod system are in place. Sheets are overlapped by the lap shown on the drawings. A common site issue is treating every overlap as a token connection rather than maintaining the specified lap over the full sheet width.
Tie the overlap with tie wire often enough to stop it opening up while crews walk the steel or while concrete is placed. The ties hold the layout together. They do not change the required lap length or allow a short lap to pass inspection.
Mesh must be supported at the level shown in the design. Bar chairs are not an optional accessory. They provide the required cover below the reinforcement and keep the mesh from being pushed onto the base during the pour. Chair height, spacing, and type depend on the mesh weight, slab depth, ground condition, and traffic expected before and during placement.
Perimeter and internal beam bars
The thickened slab edge and internal grade beams in this house slab reinforcement example use longitudinal deformed bars set in the beam trench or formed rib. Drawings may call for two, three, or more bars in a specified arrangement, sometimes with transverse bars or stirrups to maintain the cage shape.
Keep the bars at the required cover from the bottom and sides of the excavation or formwork. Steel resting directly on soil is not in position, even if the bar count is correct. Use approved chairs, spacers, or supports that will not collapse or create cover problems.
Where bars need to continue beyond stock lengths, laps must meet the engineer’s detail. Lap requirements vary with bar size, concrete strength, bar location, coating, and the design condition. Do not assume that one standard lap works for every bar. Keep laps away from locations specifically identified as high-stress zones where the drawings require it.
Openings, corners, and service penetrations
Doorways, garage openings, steps, and slab returns often need extra reinforcement because they interrupt the normal load path and concentrate cracking. Re-entrant corners are another regular detail. The drawings may specify diagonal bars, additional mesh strips, or bars extending past the corner.
Plumbing and electrical penetrations need the same attention. Coordinate service sleeves before steel is fixed. Cutting bars at the last minute to make room for a pipe can remove reinforcement that the engineer intended to carry load. If the penetration clashes with the reinforcement detail, stop and resolve it through the appropriate project contact.
A Practical Pre-Pour Reinforcement Check
The fastest way to lose time on pour day is to find basic reinforcement issues after the pump, crew, and concrete are booked. A structured check before the pour catches most problems while they are still easy to fix.
First, compare the installed steel with the latest approved drawings, not an old marked-up print from earlier in the build. Check bar marks, diameter, quantity, spacing, laps, and added bars at corners, openings, and beams. Confirm mesh is the specified grade and that sheets run in the required direction where the drawings show a direction.
Next, inspect support and cover. Mesh should be properly chaired and stable under reasonable foot traffic. Beam bars need support to maintain bottom and side cover. Check that no reinforcement is touching soil, formwork, or vapor barrier where the detail requires clearance. Plastic chairs, concrete dobies, or other approved supports should suit the application and avoid damaging the membrane.
Finally, look for clashes. Make sure service penetrations, dowels, hold-downs, starter bars, and trench details are all coordinated. Photograph the completed reinforcement before concrete placement, especially where steel will be concealed in thickened edges and internal beams. Good records help with inspections and provide useful protection if questions come up later.
Materials That Keep the Install Moving
A clean reinforcement plan still needs the right material on site before the fixing crew starts. For a typical residential slab package, that usually means specified mesh sheets, reinforcing bar in the correct diameters and lengths, bar chairs, tie wire, and any stirrups or pre-bent bars listed on the schedule. If the design uses pods or insulation, delivery timing matters because the slab build-up is sequential.
Order from the takeoff, then allow for the practical details: full sheet sizes, cutting requirements, lap allowances, offcuts, and access for unloading. For larger jobs, staged delivery can keep the site clear. For a short-notice pour, confirm stock availability and delivery timing before committing the concrete booking. Quality Steel Supplies can help trade customers source jobsite-ready reinforcement essentials with direct pricing and Auckland-wide delivery support.
Common Shortcuts That Cause Problems
The same reinforcement defects appear repeatedly on residential slabs. Mesh left flat on the vapor barrier is one. Missing chairs or widely spaced chairs are another. Bars with insufficient cover, short laps, unapproved substitutions, and omitted corner steel also show up regularly.
There is also a supply-side shortcut: ordering steel by visual estimate rather than the reinforcement schedule. It can leave the crew short of a few critical bars, which creates a scramble just before the pour. Excess material costs money too, particularly when it has been cut or bent for a detail that does not match the final drawings.
A slab only gets one chance to be reinforced correctly before the concrete covers it. Get the current drawings, match the specified materials, support the steel at the right level, and give the completed layout a proper pre-pour check. That is the practical standard that keeps a house slab moving from excavation to pour without avoidable delays.
Related Posts