Rebar fabrication services reduce field cutting, support accurate placement, and help concrete crews keep schedules, inspections, and deliveries on track.
When to Use Stirrups in Reinforced Concrete Work
A beam can look fully reinforced and still be missing the steel that handles one of its biggest risks: shear. Longitudinal rebar carries much of the bending load, but it does not do the whole job. Knowing when to use stirrups helps crews place the right reinforcement before concrete arrives, not after cracks, inspections, or engineering queries hold up the pour.
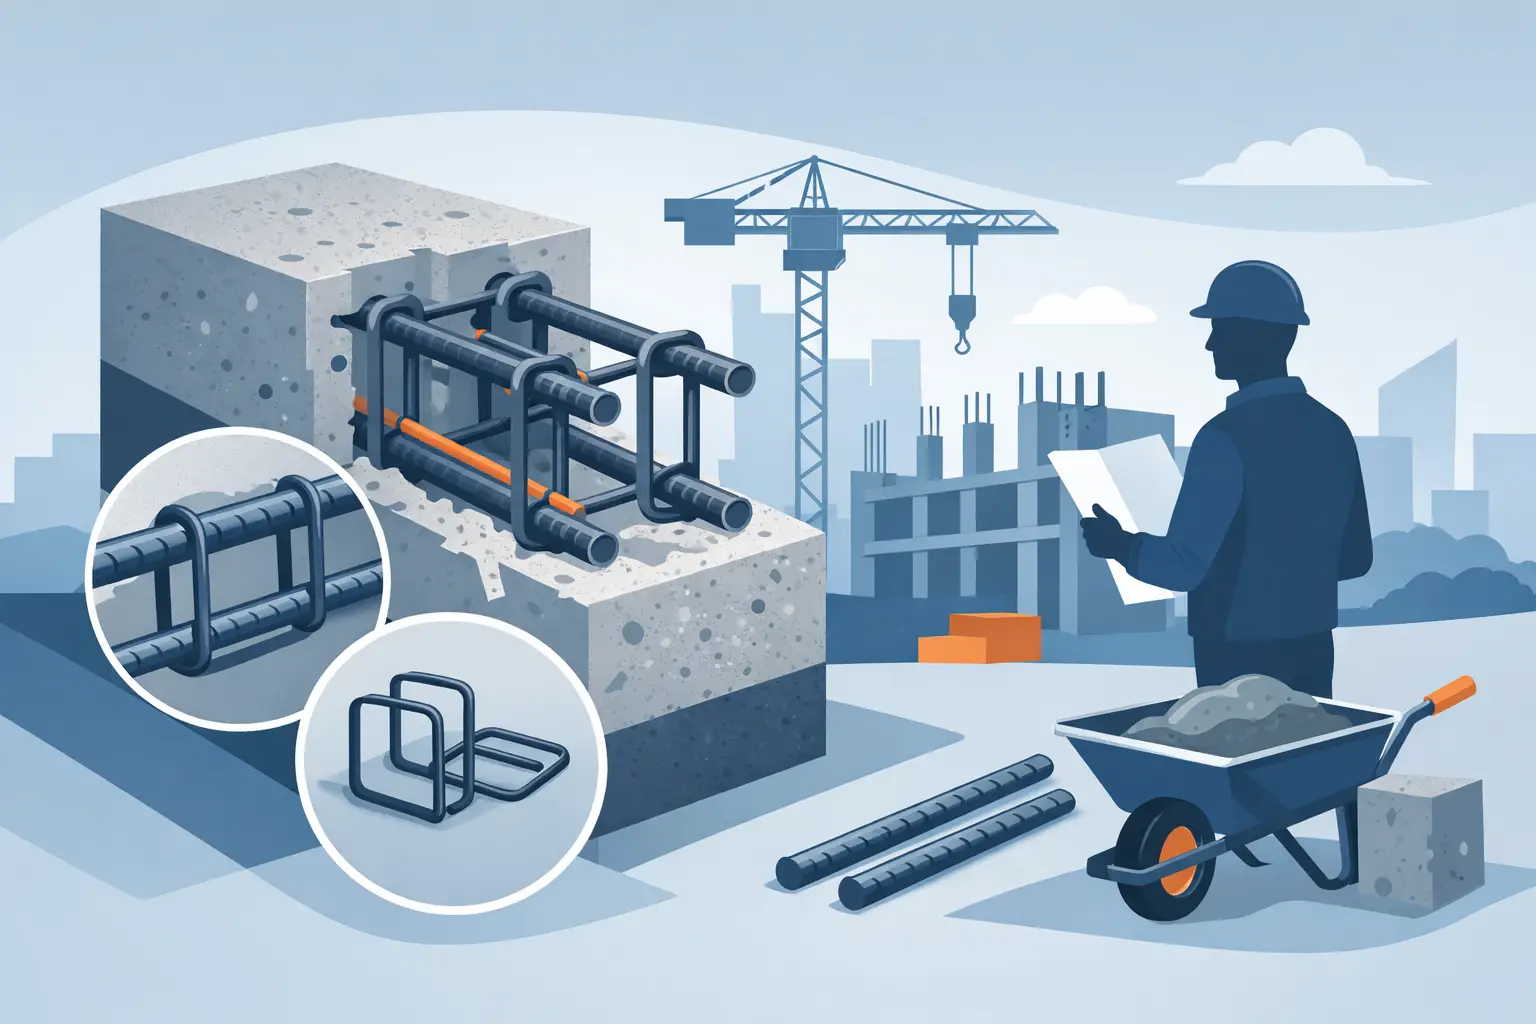
Stirrups are transverse reinforcing bars, usually bent into U-shapes or closed loops, installed around the main longitudinal bars. They are common in beams, grade beams, lintels, pile caps, and other structural members that transfer concentrated loads or span between supports. Their size, shape, spacing, hook detail, and location must follow the structural drawings.
When to Use Stirrups in Concrete Beams
Use stirrups wherever the engineering design calls for shear reinforcement. In practical terms, that is most reinforced concrete beams carrying meaningful loads, especially where the beam spans between columns, walls, piers, or foundations.
Shear forces are normally highest near supports. That is why stirrups are often spaced closer together at each end of a beam and farther apart through the middle. A crew should not assume the spacing is uniform just because the stirrups are the same size. Check the beam schedule and section details before tying steel.
Stirrups help resist diagonal cracking caused by shear. Without them, a heavily loaded beam can develop angled cracks from the support area toward the center of the span. This type of failure can occur suddenly, so it is not something to address with extra concrete, a wider beam, or a few additional longitudinal bars on site.
They also hold the top and bottom bars in their intended position. That matters during steel placement, pump pressure, vibration, and finishing. If the main bars move, concrete cover and effective beam depth can change, affecting both durability and structural capacity.
Typical beam applications
Stirrups are commonly specified in foundation and grade beams, suspended beams, transfer beams, bond beams, lintels over openings, and beams supporting masonry or precast loads. They are particularly likely where a beam carries a point load, supports a wall, or has a short span with high loading.
A simple residential slab edge may not need separate stirrups if the engineer has detailed it as a slab thickening with continuous bars. A heavily loaded garage beam, retaining wall beam, or commercial transfer beam is a different situation. The drawings decide the reinforcement, not the appearance of the formwork.
Stirrups for Columns and Piers
In columns and vertical piers, the same type of transverse steel is more often called ties rather than stirrups. The purpose is similar but not identical. Closed ties wrap around the vertical bars to keep them aligned, improve confinement of the concrete core, and reduce the risk of longitudinal bars buckling under compression.
Use column ties wherever a reinforced concrete column, pedestal, pier, or heavily loaded vertical element is detailed with them. Tie spacing is often tighter near beam-column joints, footing connections, lap splices, and other high-stress zones. These areas need careful attention because an incorrect tie layout can be difficult to fix once the cage is in place.
Do not replace closed column ties with open U-stirrups unless the engineer has specifically shown that detail. A closed tie provides restraint around the full bar cage. The hook orientation, bend diameter, and overlap arrangement all matter.
Where Stirrups Are Not Automatically Needed
Not every concrete pour requires stirrups. Flat slabs, standard residential slabs-on-grade, driveways, paths, and many lightly loaded pads are commonly reinforced with mesh, straight rebar, or both. Adding stirrups without a design requirement can create congestion, slow installation, and increase material cost without improving the element in a useful way.
Footings are another area where assumptions cause trouble. Many isolated footings use a bottom mat of reinforcing bars in each direction and do not need stirrups. Deep footings, pile caps, pedestal bases, strip footings with beam action, and heavily loaded foundations may require additional transverse reinforcement. The footing schedule and structural notes should be treated as the source of truth.
The same applies to retaining walls. A wall stem may use vertical and horizontal reinforcement without conventional stirrups, while the base beam, capping beam, return, or thickened section may require them. Reinforcement works as a system, so each part of the structure needs to be read in context.
Read the Detail Before Ordering Stirrups
A stirrup order should begin with the drawing callout, not a rough estimate from beam length. Confirm the bar diameter, inside dimensions, shape, leg length, hook type, spacing, and total quantity. A callout such as “No. 3 ties at 6 inches on center” still needs to be matched to the member dimensions and the detail showing the tie configuration.
For fabricated stirrups, inside size matters. The stirrup must fit around the longitudinal bars while maintaining required concrete cover to the outside of the finished cage. If the stirrup is too tight, bars get forced out of position. If it is too large, the cage can become loose and cover can be compromised.
Also check whether the schedule refers to clear spacing or center-to-center spacing. Most reinforcement drawings use center-to-center spacing, but do not guess. Small misunderstandings multiply quickly across a long beam run.
For repeated work, prepare a bar list that separates each beam mark or column type. Include the number of stirrups per member, the number of members, and a reasonable allowance for approved field adjustments. This makes ordering clearer and helps avoid a last-minute shortage when the crew is ready to tie cages.
Installation Details That Affect Performance
Correct stirrups on the ground do not help if they are installed poorly. Keep the cage square, tie each stirrup securely enough to prevent movement, and use approved bar chairs, spacers, or supports to maintain cover. Reinforcement should not sit directly on soil, formwork, or polystyrene unless the design specifically allows it.
Pay close attention at beam ends and intersections. The first stirrup often has a set offset from the face of a support, while additional stirrups follow a tighter spacing zone. Do not start the spacing from whichever point is easiest to measure. Start from the reference point shown on the drawings.
Stirrup hooks must be correctly formed and oriented. Hooks are not just there to make tying easier. They anchor the transverse bar so it can develop the intended restraint and shear capacity. Avoid cutting, straightening, or re-bending fabricated stirrups in the field unless the engineer has approved the change.
Congestion is another common site issue. Beam-column joints, narrow beams, lap zones, and areas with multiple services can become crowded fast. If bars will not fit with the specified cover, do not simply spread the cage or skip ties. Raise the issue before the pour. A detail change may be needed, and it is far cheaper to resolve it while the steel is exposed.
Stirrups, Code Compliance, and Engineering Responsibility
Stirrups are structural reinforcement, not general-purpose tie wire shapes. Their requirements come from the design engineer and applicable building code, including rules for bar grade, bend details, development, spacing, cover, and seismic detailing where applicable.
For US work, drawings may reference ACI requirements along with local building code provisions. Projects in seismic areas can have more demanding confinement and tie spacing requirements, particularly around columns, walls, and beam-column joints. Commercial and industrial projects may also specify welding restrictions, certified mill documentation, or special inspection procedures.
If the drawings are unclear, confirm the requirement with the engineer or project manager before fabrication or installation. A supplier can help identify the correct bar size and fabricated shape from a clear schedule, but cannot redesign a structural detail from a verbal description.
Plan Supply Around the Pour Date
Stirrups are small pieces, but they can stop a major concrete pour if they are missing or incorrectly sized. Order them with the main rebar package where possible, and check quantities when material arrives. Compare labels and bundle counts against the bar list before the steel crew starts work.
For urgent jobs, have the beam marks, dimensions, bar size, quantity, and required delivery time ready when requesting material. Clear information speeds up pricing, fabrication, and delivery, and helps prevent the wrong shape turning up at the gate.
Treat stirrups as the working steel that keeps a beam or column cage doing its job under load. When the drawings call for them, install the specified shape at the specified spacing, maintain cover, and resolve any fit-up issue before concrete hides the work.
Related Posts