Rebar fabrication services reduce field cutting, support accurate placement, and help concrete crews keep schedules, inspections, and deliveries on track.
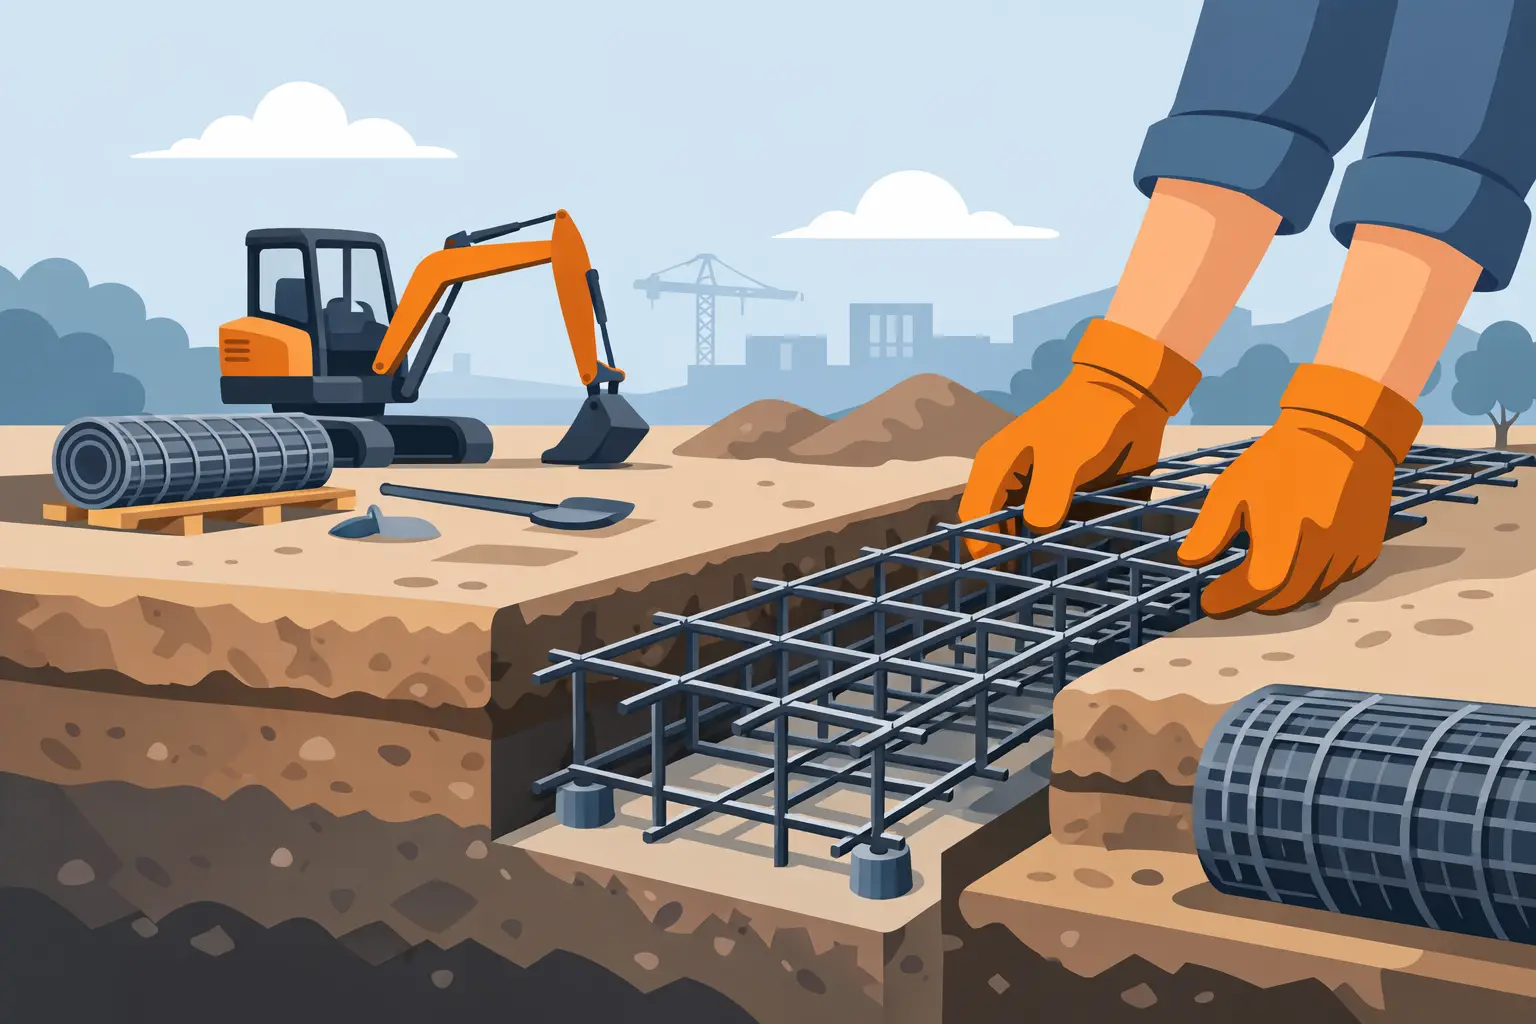
How to Install Trench Mesh the Right Way
When a footing inspection is booked and the pour is lined up, trench mesh placement is not the part of the job you want to redo. If you are working out how to install trench mesh, the goal is simple – get the reinforcement in the right position, keep it there during the pour, and make sure the setup matches the engineer’s details and local code requirements.
Trench mesh is commonly used in strip footings, edge beams, and other linear concrete elements where you need consistent longitudinal reinforcement. It is fast to place compared with loose bar, but only if the trench is prepared properly and the mesh size, lap, and support method are right for the job. Good installation comes down to accuracy, not guesswork.
What trench mesh is doing in the footing
Trench mesh is there to reinforce concrete where tensile forces can cause cracking or movement. In practical site terms, it helps the footing or beam handle loads and ground movement better than plain concrete alone. It is typically supplied in standard lengths and widths with main wires running longitudinally, which makes it suited to trenches and continuous footings.
The key point is that trench mesh only works as intended if it sits in the correct part of the concrete section. If it ends up buried in the bottom of the trench or pushed too close to the formwork, you lose the cover needed for durability and may also compromise structural performance. That is why installation matters just as much as product selection.
Before you install trench mesh
Start with the drawings. Check the trench width and depth, the specified mesh type, required laps, concrete cover, and whether additional bars, starter bars, or corner reinforcement are required. On some jobs the trench mesh is enough on its own. On others, it is only one part of a larger reinforcement layout.
Then check the trench itself. The base should be trimmed, reasonably firm, and free from loose spoil, standing water, and soft spots. If the trench profile is uneven, the mesh will be harder to support at the right height. That usually leads to rushed fixes on pour day, and those fixes rarely improve the job.
You also want the right accessories ready before placement starts. That usually means bar chairs or other approved supports, tie wire, and tools for cutting and tying. If the trench is deep or irregular, allow extra time for setting support points. Saving ten minutes here can cost much more when the inspector asks for corrections.
How to install trench mesh step by step
1. Confirm the correct mesh and layout
Check the bundle tags and match them to the engineering details before anything goes into the trench. Trench mesh comes in different wire sizes and configurations, and using the wrong product is not a small error. It can mean pulling everything back out.
Lay out the lengths beside the trench first if space allows. That makes it easier to plan laps, corners, penetrations, and any cuts needed around service locations or step-downs.
2. Set supports to maintain concrete cover
This is where many installation problems start. Trench mesh should not sit directly on soil, fill, or blinding unless the drawings specifically allow for that, which is uncommon. Use suitable bar chairs or approved supports to hold the mesh at the required height and maintain cover from the bottom and sides.
The spacing of chairs depends on the mesh stiffness, trench conditions, and how much movement is likely during the pour. A narrow, stable trench with light foot traffic may need fewer supports than a wider trench with softer base conditions. If there is any doubt, add more support rather than less. Sagging mesh is a common failure point.
3. Place the trench mesh centrally in the trench
Lower the mesh into position and keep it aligned with the trench run. In most footing applications, you want it centered laterally unless the drawings show otherwise. Side cover matters just as much as bottom cover. If the trench wall is rough or collapses slightly in spots, recheck the clearance.
At this stage, do not assume the mesh will stay where you left it. Once concrete starts flowing, unsupported or poorly tied reinforcement can shift quickly.
4. Lap adjoining lengths correctly
Where one sheet or length ends and the next begins, lap them as required by the engineer’s details or the applicable code. Lap length is not something to estimate by eye. It depends on the reinforcement size, grade, and design requirements.
Keep the lap straight and make sure both sections are properly supported through the overlap. If the mesh is only supported at each end of the lap, the middle can dip and reduce cover. Tie the lapped sections together securely so they act as one continuous run during the pour.
5. Tie intersections and critical points
You do not need to tie every wire crossing unless specified, but you do need enough ties to keep the mesh stable during placement and concrete vibration. Focus on laps, ends, corners, junctions, and anywhere the mesh could twist or lift.
Use tie wire neatly and keep cut ends turned away from the form face where possible. Messy tying is more than a presentation issue. Loose wire and unstable laps can create movement when the concrete crew starts working the trench.
6. Add extra reinforcement where required
Corners, T-intersections, penetrations, and concentrated load points often need more than standard trench mesh. That may include bent bars, starter bars, ligatures, or additional loose reinforcement. Install these exactly as detailed.
This is one of the areas where site assumptions cause trouble. If the plan calls for additional steel, standard trench mesh does not replace it. Treat those extras as structural requirements, not optional upgrades.
Common mistakes when installing trench mesh
The most common problem is inadequate cover. Mesh that is too low is exposed to ground moisture and corrosion risk. Mesh that is too close to the side face can also fail inspection, especially in aggressive environments or where minimum cover is clearly specified.
The next issue is poor support. Workers step on the mesh, the trench base softens, or the concrete hose knocks the steel out of position. If the setup is marginal before the pour starts, it usually gets worse once placement begins.
Incorrect laps are another regular problem. Short laps, poorly aligned overlaps, or untied joints weaken continuity along the trench. There is also the simple but costly mistake of installing the wrong mesh grade because the bundle was not checked against the drawing.
Finally, do not overlook trench cleanliness. Mud, debris, and collapsed trench material around the steel can affect both cover and concrete quality. A quick cleanup before inspection and pour is worth it.
What to check before the concrete arrives
Before pour time, walk the trench and check the line, level, cover, laps, ties, and any extra bars. Make sure the mesh is still supported where it should be and that no chairs have rolled or sunk. If there are service penetrations or starter bars for walls or columns, confirm they are fixed and located correctly.
If an inspection is required, do not leave adjustments until the inspector points them out. The cleanest jobs are usually the ones where someone has already taken ten minutes to look at the steel from end to end before anyone else does.
It also helps to brief the concrete crew. Let them know where the reinforcement is light, where there are laps, and where they need to be careful with hose pressure and foot traffic. Good installation can still be damaged by rough pouring practices.
How to install trench mesh on uneven or difficult sites
Not every trench is straight, dry, and easy to work in. On residential sites, you may be dealing with variable ground, stepped footings, tight access, or trenches that have sat open through bad weather. That changes the installation approach.
On uneven bases, spend more time on support setup. Trying to bridge hollows without enough chairs usually leaves the mesh floating in some areas and bottomed out in others. In wet conditions, unstable trench bottoms may need to be reworked before steel goes in. If the base is not sound, reinforcement placement becomes unreliable.
For stepped footings or changes in direction, plan cuts and overlaps before placing the steel. Forcing standard lengths to fit awkward geometry often creates poor cover at corners or weak laps at transitions. This is where having the right reinforcing products on hand, not just the main trench mesh, saves time on site.
Compliance matters more than speed
Most crews want reinforcement in fast and checked off. That makes sense. But speed only helps if the steel is compliant when the concrete truck arrives. Rework in a trench is slow, frustrating, and expensive, especially once other trades or inspections are lined up behind you.
A dependable install comes down to four things: the right trench mesh, the right supports, correct laps, and careful final checks. That is the difference between steel that just fills the trench and steel that is actually installed to perform.
If you are ordering for an upcoming footing job, make sure the reinforcement, chairs, and tie wire arrive together and match the drawings. That kind of planning keeps the trench ready for concrete instead of turning pour day into a repair job.
Related Posts