Learn how dowel bars transfer loads across concrete joints, reduce faulting, and support durable slabs with correct sizing, alignment, and installation.
How to Secure Tie Wire for Reinforcing Steel
A reinforcement cage can look right from a distance and still shift when the concrete crew starts walking boards, placing a pump hose, or vibrating the pour. Knowing how to secure tie wire properly keeps rebar intersections and reinforcing mesh in position so the installed steel matches the drawings when it matters.
Tie wire is not the structural connection in reinforced concrete. The bar arrangement, laps, cover, chairs, spacers, and concrete placement do the structural work. But properly tied wire holds that arrangement together during handling and the pour. The goal is a firm, tidy tie that prevents movement without damaging the bar, breaking the wire, or creating sharp ends that slow down the crew.
Start with the right tie wire and tools
For typical reinforcing work, annealed black steel tie wire is the standard choice because it is soft enough to twist quickly but strong enough to hold rebar intersections in place. It is commonly supplied in coils for hand tying or prepared ties for faster repetitive work. Choose a wire gauge that suits the bar size, cage weight, and handling involved. Heavier cages and larger bar may need a heavier wire or more ties at critical locations.
A basic hand-tying setup includes tie wire, end-cutting nippers or rebar tying pliers, gloves, eye protection, and a wire reel or dispenser. A manual wire twister can speed up common ties, while a battery tying tool makes sense on large slabs, walls, footings, or repetitive cage work where labor time is the main cost.
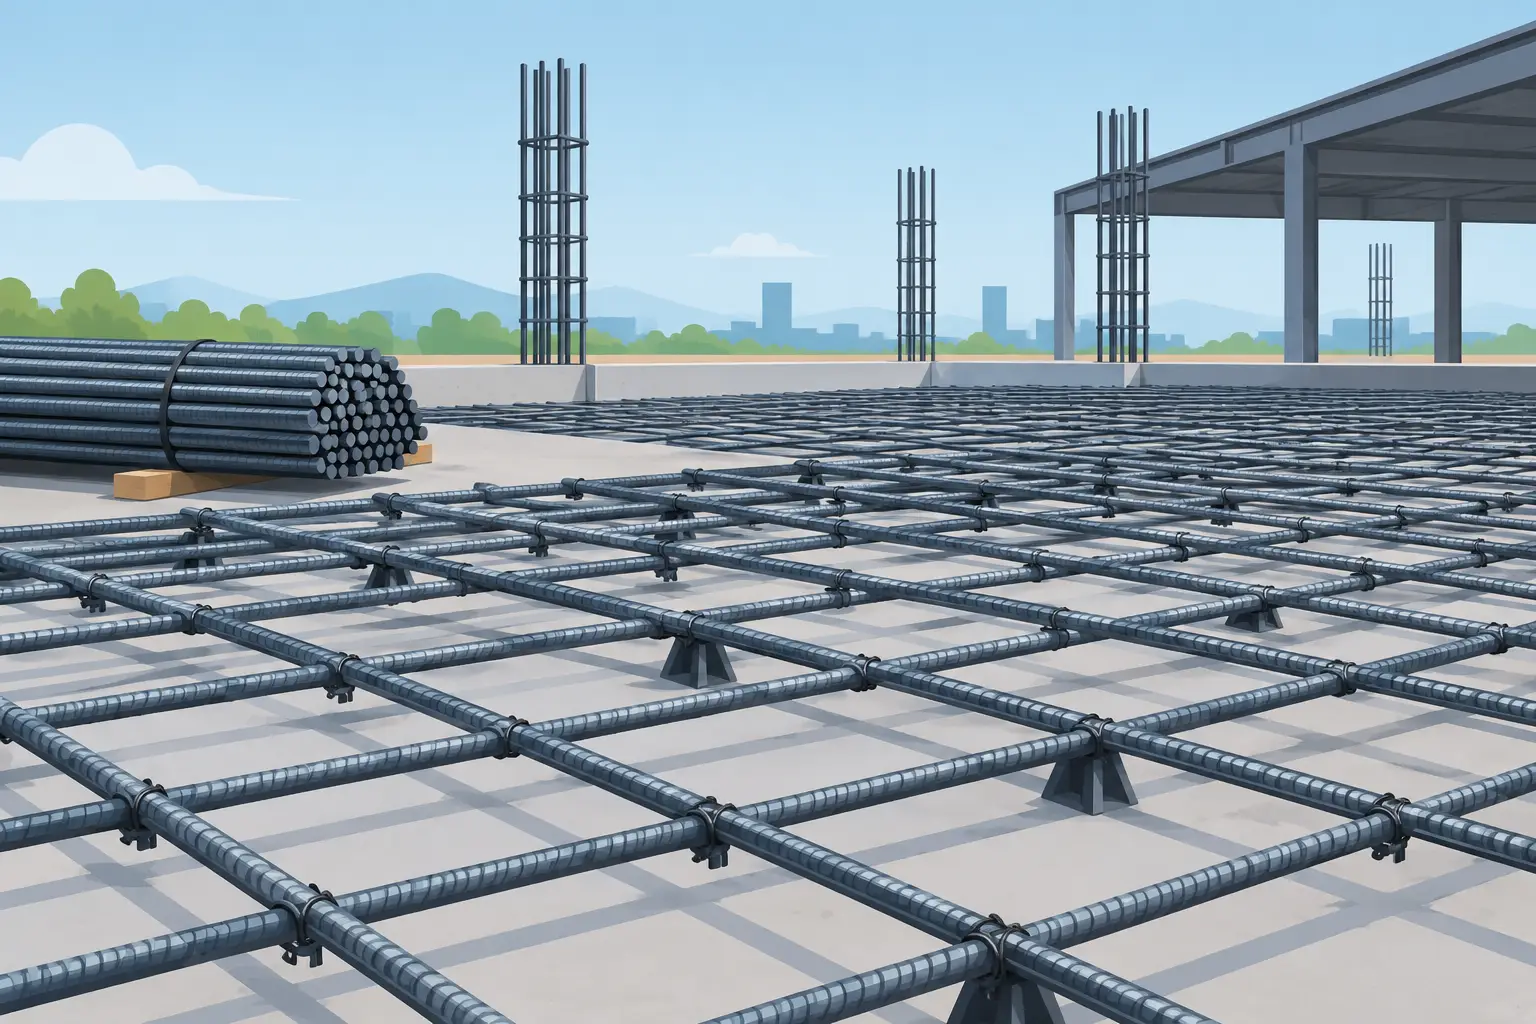
Tools save time, but they do not replace checking the placement. A fast tie on steel that is out of cover, out of spacing, or sitting on the ground is still a problem. Set the bars on the required chairs and spacers first, then tie them in their final position.
How to secure tie wire at a rebar intersection
The most common task is tying one bar to another where they cross. Work from a stable position and keep your hands clear of cut wire ends and bar ribs.
1. Position the bars before tying
Place the crossing bars to the spacing shown on the reinforcement plan. Check that longitudinal bars are straight, stirrups are square, and lap locations are where they should be. If the cage is being assembled off the form, support it evenly so it does not rack or twist while you work.
Do not use tie wire to pull badly aligned bar into place. It can temporarily hide a layout issue, but the wire may loosen under load and the cage can spring back. Adjust the steel, then tie it.
2. Feed the wire under the crossing point
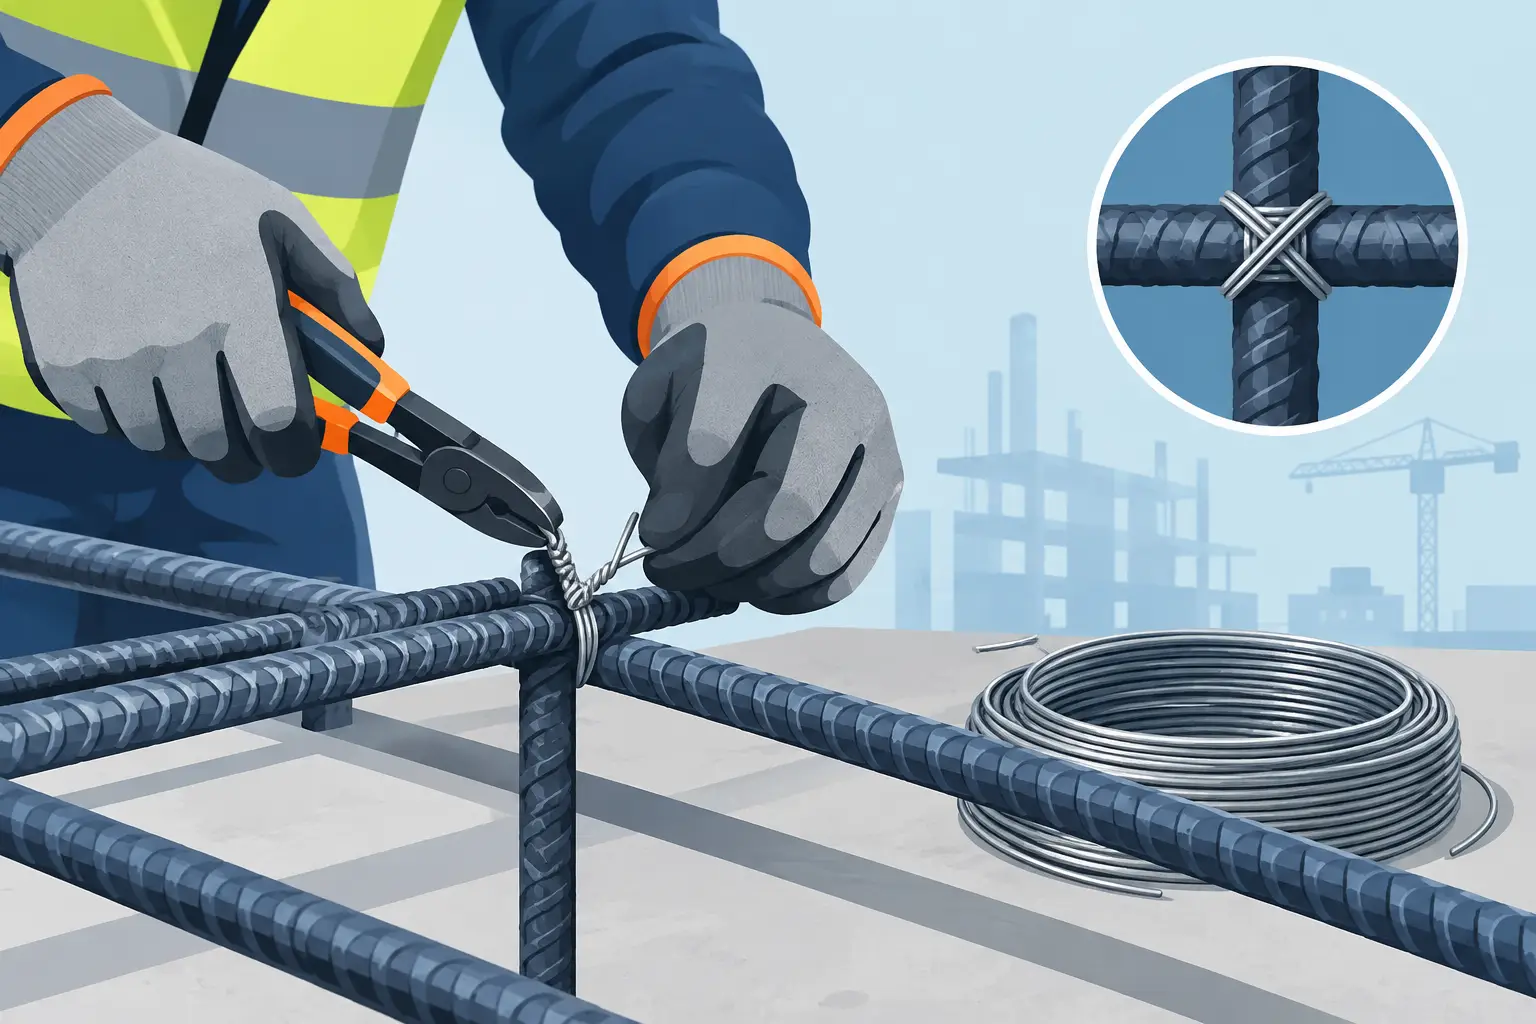
Cut a practical length of wire for hand tying, usually long enough to pass beneath both bars and leave two tails for twisting. Feed the wire under the intersection and bring each end up on opposite sides of the crossing bar. Keep the wire snug against the steel rather than leaving a large loose loop.
For mesh, place the wire so it captures both crossing wires securely. Mesh intersections are often factory welded, but perimeter laps, cut sheets, and areas that can be lifted or walked on may still need tying as specified or required for placement control.
3. Twist the tails tight, not excessively tight
Bring the two wire tails together and twist them with pliers or a tying tool until the tie holds the bars firmly. Usually, three to five twists are enough for a hand tie, depending on wire gauge and the tie style. Stop once there is no noticeable movement at the intersection.
Overtwisting is a common mistake. It can snap annealed wire, weaken the tie, or leave a tall sharp tail. A broken tie is not reliable just because it appears tight at first glance. Remove it and install a new one.
4. Bend the tail away from the concrete face
After twisting, bend the wire tail down toward the center of the reinforcement cage. Do not leave sharp wire ends pointing toward the formwork, slab surface, or outside face of a wall. Protruding tails can reduce cover, interfere with formwork, create a finishing issue, and cut workers handling the cage.
This small step makes a cleaner reinforcement installation and avoids last-minute fixes before the inspection or pour.
Choose the tie pattern for the job
Not every intersection needs the same tie. The right method depends on whether the reinforcement will stay flat, be lifted, be moved by crane, or resist pressure from concrete placement.
A simple snap tie is the everyday choice for slab reinforcement, light mesh, and intersections that only need to stay in place. It is quick and economical. A wrap-and-snap tie gives more grip where bars may shift during assembly. Saddle ties and figure-eight ties are useful for corners, vertical steel, and cage work where movement can occur in more than one direction.
For a wall cage, column cage, beam, or footing beam, tie more than just the obvious crossing points. Corners, starter bars, changes in bar direction, lap areas, stirrup corners, and bars near lifting points deserve closer attention. These are the places where a cage tends to open up or lose shape during handling.
Tie frequency should follow the project drawings, specification, and the direction of the engineer or inspector. For simple mesh sheets, tying every intersection is often unnecessary. For a preassembled cage that will be moved, a sparse tie pattern is usually not enough. The trade-off is straightforward: use enough ties to keep the steel stable through placement, without wasting time tying every point that will never move.
Securing tie wire on mesh laps and edges
Reinforcing mesh is easy to distort when sheets are dragged into position or when workers move across it. Make sure the required lap is maintained before tying. The overlap length is set by the reinforcement schedule or engineering details, not by a rule of thumb on site.
Tie the sheets at the lap so they cannot separate or creep as concrete is placed. Start at the edges and work along the overlap at the specified intervals. Where mesh has been cut around penetrations, pits, or slab edges, check that loose wires are not lifting and that additional bars are secured as detailed.
Keep mesh supported at the required level with appropriate bar chairs. Tie wire cannot hold mesh at the correct height if it has no support underneath. Trying to pull mesh up while concrete is already being placed is inefficient and often leaves inconsistent cover.
Check the cage before concrete arrives
A quick pre-pour check catches most tie-wire problems. Walk the reinforcement and lightly test critical bars by hand. They should not roll, spread, or lift away from chairs. Look closely at corners, laps, vertical bars, starter bars, and areas where the pump hose or concrete buggy will pass.
Confirm that tie ends are tucked in, cover spacers are in place, and steel is free of mud, heavy loose scale, oil, or site debris. Check that the wire has not pulled bars off their required spacing. If a tie is loose, broken, or wrapped around only one bar, replace it rather than adding another twist to a poor connection.
Before the pour, make sure the crew understands where reinforcement is most vulnerable. Concrete should be placed in a controlled sequence, not dumped in a way that pushes a light mesh sheet or knocks a vertical cage out of line. The person monitoring the steel during placement should have wire and pliers ready for quick corrections.
Avoid the mistakes that create rework
The usual failures are simple: tying steel before it is correctly positioned, using too few ties on a cage that will be moved, overtightening until the wire breaks, and leaving sharp tails against the form face. Another common issue is relying on ties where chairs, spacers, or temporary bracing are needed.
Tie wire holds reinforcing steel together. It does not replace bar chairs for cover, proper lap lengths, welded connections where specified, or engineered support for heavy cages. If the drawings call for a particular tying pattern, welded reinforcement, couplers, or temporary bracing, follow that detail rather than substituting a quicker site fix.
Good tie work is not about making every intersection look identical. It is about keeping the reinforcement exactly where the design requires it through inspection, concrete placement, and finishing. A few extra minutes spent securing the critical points before the truck arrives is far cheaper than stopping a pour to repair displaced steel.
Related Posts