Rebar fabrication services reduce field cutting, support accurate placement, and help concrete crews keep schedules, inspections, and deliveries on track.
How to Place Starter Bars Correctly
How to Place Starter Bars Properly: A Guide for Auckland Builders
Starter bars get noticed when they are wrong. A wall line drifts, cover gets lost, laps come up short, or the next pour turns into rework. If you need to know how to place starter bars properly, the goal is simple – get the bars in the right position, with the right embedment, lap, cover, and restraint, so the next structural element can be tied in without delays or compliance issues.
This guide is written for builders, concreters, and steel fixers working across Auckland and the wider North Island, where tight residential sites, clay soils, coastal exposure, and Auckland Council pre-pour inspections all affect how starter bars need to be set out and fixed.
Why starter bar placement matters
Starter bars are not just bars left sticking out of concrete. They transfer load between separate concrete elements and maintain continuity through the structure. In practical terms, they connect footings to walls, slabs to upstands, columns to pads, and new work to existing pours.
When they are set accurately, the next stage goes faster. Formwork fits, cages tie in cleanly, and inspections are more straightforward. When they are off line or poorly fixed, crews end up cutting, drilling, epoxying, or requesting engineer sign-off for changes that should not have been needed in the first place.
That is why starter bar placement is less about getting steel into concrete and more about controlling position before the pour. Once the concrete is in, your options narrow quickly.
Starter bars in New Zealand construction
In New Zealand, starter bars are usually detailed to NZS 3101 (Concrete Structures Standard), with residential foundations and masonry often following NZS 3604 and NZS 4229. Reinforcing bar supplied for structural work should be certified to AS/NZS 4671, and you will typically see starters specified as Grade 300E (D bars, e.g. D12) or Grade 500E (HD bars, e.g. HD12, HD16). Always follow the grade and diameter on your drawings – D and HD bars are not interchangeable without engineer approval.
How to place starter bars on site
The correct method depends on whether you are placing bars into a new pour or fixing them into hardened concrete. Either way, the starting point is the same: work from the structural drawings and bar schedule, not from memory and not from the last job.
Start with the drawings, spacing, and bar marks
Check the element being connected, the bar diameter, spacing, projection above the pour, lap length, and required embedment. Confirm the concrete cover as well. These details affect where the bars sit in the formwork and how they will connect to the reinforcement above.
On straightforward residential work, this may look simple enough to set by tape and eye. That is where mistakes creep in. Mark out the line clearly, confirm centres, and measure from fixed references that will still make sense once boxing, mesh, and chairs are in place.
If bars are being cast into footings for a masonry or concrete wall, make sure the spacing actually suits the wall system and the vertical reinforcement above. A neat line of starter bars is no use if it does not match the block cores, wall cage, or hold-down layout.
On Auckland infill and subdivision sites, where boundaries are tight and retaining walls are common, it is worth double-checking set-out against the surveyor’s pegs and boundary offsets before any steel goes in. A starter bar line that is 20 mm out can become a real problem when the wall above sits hard on a boundary.
Confirm embedment and lap before cutting bar
The most common site issue is treating the visible projection as the only dimension that matters. It does not. A starter bar has to achieve enough embedment in the lower pour and enough projection to provide the required lap or tie-in to the next element.
That means you need the total bar length worked out before cutting. If you are tight on depth, congestion, or edge distance, do not guess. Review the detail and resolve it before the pour. Short bars buried in concrete do not become compliant because the truck is on site.
Ordering starter bars cut and bent to length from your bar schedule removes a lot of this risk. It also saves site time on busy Auckland jobs where space for cutting and bending on site is limited.
Fix the bars so they cannot move during the pour
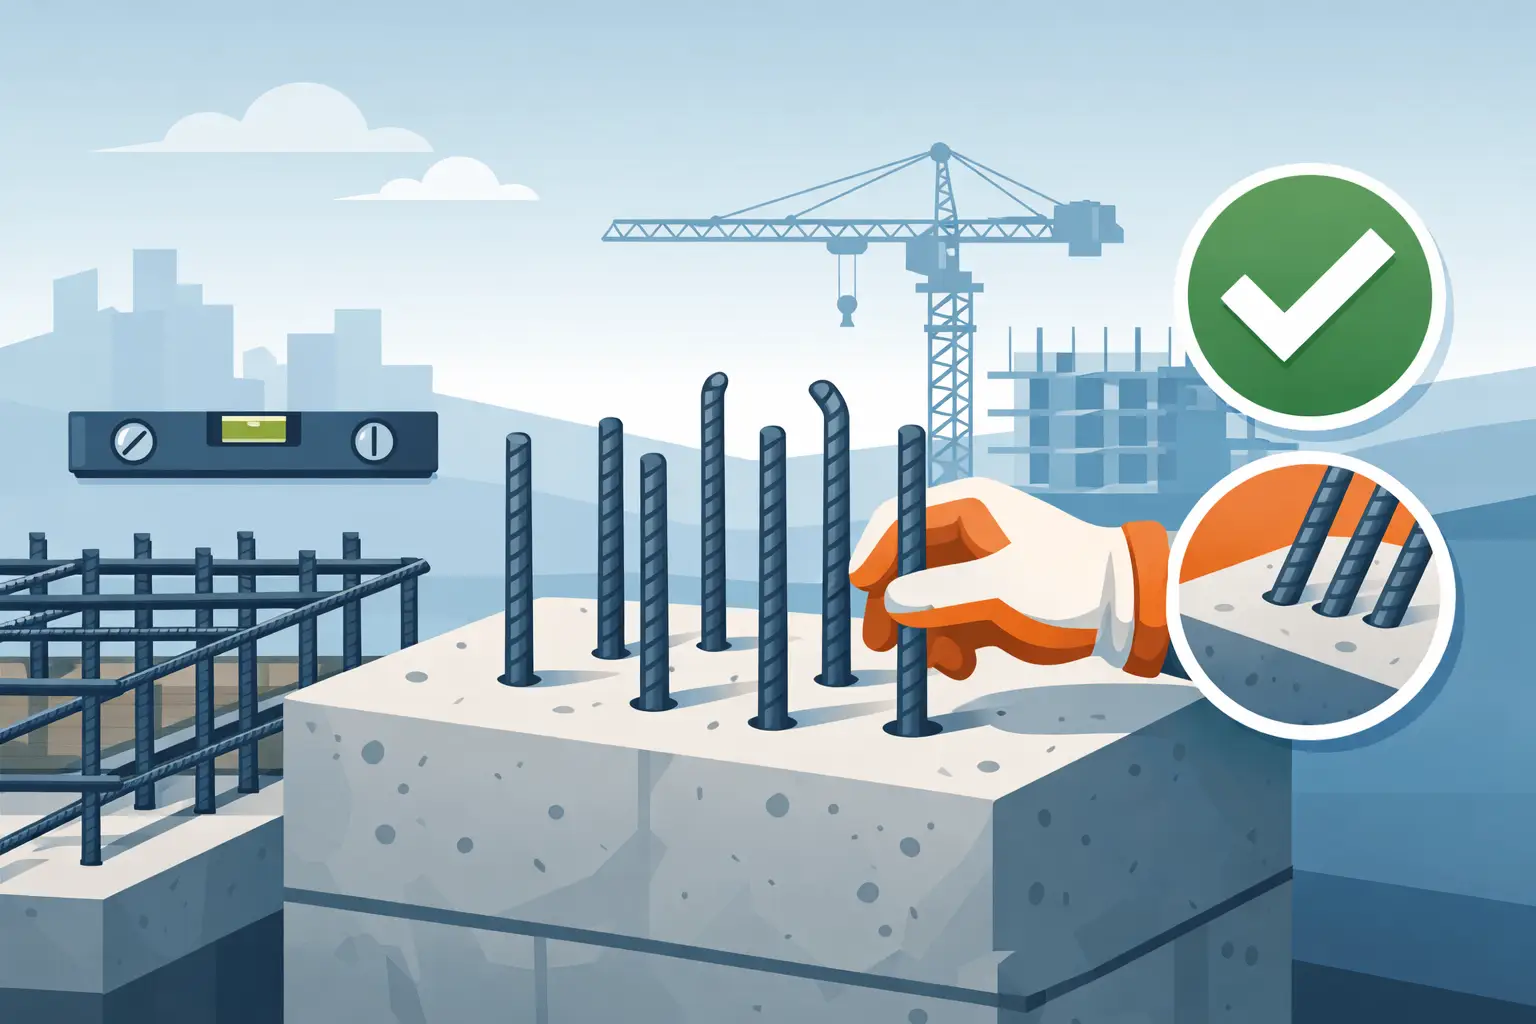
Knowing how to place starter bars also means knowing how to hold them in place. Fresh concrete, pump pressure, vibration, and foot traffic will move poorly restrained bars. If the bars need to stay vertical and on line, they must be tied securely to the main reinforcement or to a stable fixing system.
Depending on the detail, that may mean tying them into footing cages, securing them against timber rails or templates, or using spacer systems that maintain position and cover. The right support matters just as much as the bar itself. If the cage flexes when someone leans on it, it is not fixed well enough.
Bars should also be checked for plumb and line after tying, not just when first dropped into place. It is common for a row to creep out once adjacent steel is installed.
Auckland’s heavy clay soils and wet winters make this more important. Soft or waterlogged trench bases give chairs and bars less to bear on, so check that supports sit on a firm base and that nothing has sunk or tilted before the pour.
Cover, alignment, and tolerance
Starter bars need enough concrete around them to protect the steel and satisfy the design. Losing cover at the edge of a footing or slab is one of the easiest mistakes to make, especially when bars are set too close to boxing or shift during placement.
Use the specified cover and maintain it with suitable chairs, spacers, or fixing methods. Avoid makeshift packing that can crush, float, or move when concrete is placed. A cheap shortcut at this stage can turn into remedial work later.
Cover on coastal Auckland sites
With the Waitematā and Manukau harbours, the Hauraki Gulf, and the west coast all close by, many Auckland sites sit in a higher exposure zone under NZS 3101. Sites near the coast can need more concrete cover to protect reinforcing from salt-driven corrosion. Check the exposure classification and cover on your drawings rather than assuming a standard inland figure – it can change the position of your starter bars within the footing.
Alignment
Alignment matters just as much. Bars that are out of line can make it difficult to install wall steel, column cages, or precast elements. On some jobs there is very little tolerance before follow-on trades are affected. That is why experienced crews use templates where bar spacing has to be exact, especially for repetitive work or heavily loaded details.
Placing starter bars in fresh concrete vs hardened concrete
There is a big difference between cast-in starter bars and post-installed starter bars.
Cast-in starter bars
Cast-in bars are generally the cleaner option because they are detailed into the original reinforcement and develop strength through embedment in the new concrete. If the pour sequence allows it, this is usually the most efficient route.
The key risk is movement during placement. Good set-out and strong restraint solve most of that problem.
Post-installed starter bars
If bars need to be added later into existing concrete, the method changes completely. Hole diameter, drilling depth, edge distance, hole cleaning, adhesive type, bar cleanliness, and installation procedure all become critical. This is not a case of drilling a hole, injecting resin, and hoping for the best.
Post-installed bars should follow the engineer’s detail and the fixing system requirements exactly. Installation procedures matter because bond performance depends on them. If the holes are dusty, too shallow, or oversized, capacity can be compromised.
This comes up often on Auckland renovations and extensions, where new slabs, decks, or walls tie into older foundations. On these jobs, the engineer’s detail and the adhesive manufacturer’s instructions are what the building inspector will expect to see followed.
This is also where planning helps. If there is any chance a future wall, nib, or column will be added, cast the bars in now if the drawings permit. It is usually faster and cleaner than returning later with drills and adhesive.
Common mistakes when placing starter bars
Most site problems come back to the same few issues. Bars are set from the wrong reference, cut too short, pushed out of position during the pour, or installed without enough thought for the next stage of work.
Another frequent problem is congestion. A detail may work on paper, but once footing steel, trench mesh, hold-down bolts, and starter bars all land in the same zone, space disappears. When that happens, crews sometimes shift bars to make things fit. That can create cover issues, lap issues, or clashes with the wall reinforcement above. If the detail is tight, sort it out before concrete arrives.
There is also the compliance side. Using the wrong grade, wrong diameter, or unverified substitute material can create bigger issues than a simple placement error. Reinforcement needs to match the specification, and that starts with ordering the correct product in the first place.
Practical checks before the pour
A quick pre-pour check saves time. Confirm the bar size and grade against the drawings. Check spacing, line, projection height, cover, and tie security. Make sure the starter bars are clean enough for a proper bond and not loaded with mud, loose rust, or form oil. After a wet Auckland week, mud on bars and water in trenches are two of the most common things to fix before the inspector arrives.
Then think one step ahead. Can the next cage, wall steel, or mesh layer be installed without forcing anything? Are the bars where the next crew expects them to be? Good starter bar placement is not only about passing the current inspection. It is about making the next operation straightforward.
Passing your Auckland Council pre-pour inspection
On consented work in Auckland, reinforcing – including starter bars – is checked at the pre-pour (foundation) inspection before any concrete is placed. Inspectors will typically look at bar size and grade, spacing, laps, cover, and how well the steel is fixed. Having your consented drawings on site, steel tied and supported properly, and bars clean and in line makes that inspection quicker and reduces the risk of a failed inspection holding up your concrete booking.
Material supply matters more than people admit
Placement quality starts before the bars reach site. If bar lengths are inconsistent, bends are wrong, or deliveries arrive late and crews start improvising, installation quality drops fast. Reliable supply is part of good reinforcement practice.
That is why contractors usually prefer a supplier that understands reinforcing steel, stocks the everyday site essentials, and can turn orders around quickly when schedules tighten. Quality Steel Supplies works with that reality every day – compliant reinforcing products certified to AS/NZS 4671, clear pricing, and fast delivery help crews spend more time placing steel correctly and less time chasing missing material.
We deliver starter bars, rebar, mesh, and reinforcing accessories Auckland-wide, Monday to Saturday, by Hiab truck – from the North Shore and West Auckland to South Auckland, East Auckland, and the CBD. If you would rather pick up, Click & Collect is available from our Penrose and East Tamaki yards.
When the detail needs clarification
Not every starter bar layout is straightforward. Heavily reinforced footings, seismic details, retaining walls, and staged commercial pours often include tighter tolerances and stricter sequencing. In those situations, the right answer is not to adjust bars in the field until something fits. It is to stop and check the detail.
There is always a trade-off between speed and certainty on site, but structural steel placement is one area where guessing gets expensive. If a bar location, lap, or embedment looks wrong, get it clarified before the pour. A ten-minute check is cheaper than a breakout and repair.
Starter bar FAQs
What are starter bars used for?
Starter bars connect one concrete pour to the next – for example footings to walls, slabs to upstands, or pads to columns. They carry load across the joint and keep the reinforcement continuous through the structure.
How far should starter bars stick out of the concrete?
The projection depends on the lap length or tie-in needed for the next element, which is set by the bar diameter, grade, and the design. Always take the projection and embedment from your structural drawings or engineer’s detail rather than a rule of thumb.
What size starter bars are used in NZ?
Common sizes on New Zealand residential and light commercial work include D12, HD12, and HD16, but the correct size and grade are whatever your consented drawings specify.
Can starter bars be drilled and epoxied in later?
Yes, post-installed starter bars are common on renovations and extensions, but they must follow the engineer’s detail and the adhesive system’s installation instructions exactly, including hole size, depth, and cleaning.
Where can I buy starter bars in Auckland?
Quality Steel Supplies supplies starter bars, reinforcing bar, mesh, and accessories across Auckland, with delivery Monday to Saturday and Click & Collect from Penrose and East Tamaki. Call Troy on 0800 744 78335 (0800 PH 4 STEEL) for pricing or to place an order.
Final thought on how to place starter bars
If you want starter bars to do their job, treat them as part of the full reinforcement system, not as an afterthought at the end of the pour. Set them out carefully, fix them properly, protect cover, and make sure the next stage can tie in exactly as detailed. That approach keeps the steel compliant, the concrete crew moving, and the job off the rework list.
Need starter bars or reinforcing steel delivered on your Auckland site? Call Troy on 0800 744 78335 (0800 PH 4 STEEL) or order online with Quality Steel Supplies – Auckland-wide delivery, Monday to Saturday.
Related Posts