Learn how dowel bars transfer loads across concrete joints, reduce faulting, and support durable slabs with correct sizing, alignment, and installation.
Warehouse Floor Reinforcement Example: A Practical Plan
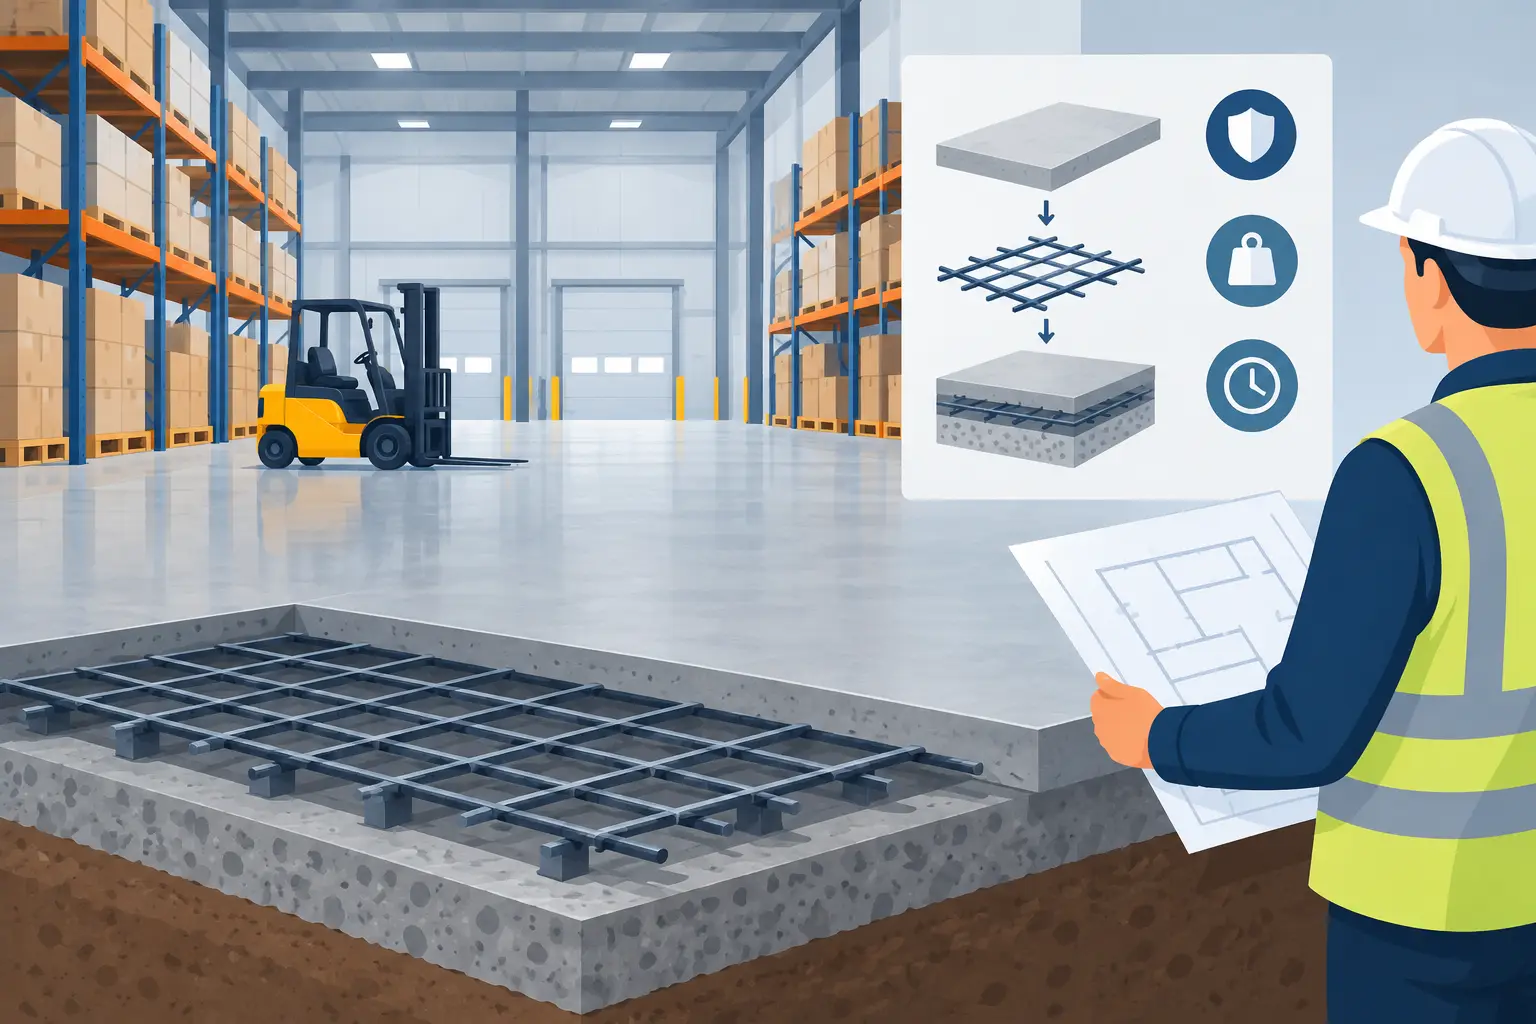
A warehouse slab can look fine on pour day and still become an expensive problem once forklifts, pallet racking, and point loads go to work. This warehouse floor reinforcement example shows how a typical slab package is thought through, from prepared subgrade to steel placement and joints. It is a practical starting point for pricing and site planning, not a substitute for an engineer’s slab design.
The key is to treat the floor as a system. Reinforcement matters, but it cannot correct soft fill, poor compaction, inadequate slab thickness, badly located joints, or steel that ends up on the bottom of the slab. Get the whole package right before the concrete trucks arrive.
Warehouse Floor Reinforcement Example for Forklift Traffic
Consider a 20,000-square-foot warehouse used for pallet storage and regular forklift traffic. The planned floor will carry general storage, electric forklifts, and pallet jacks, with localized racking loads. The project has a geotechnical report, and the structural engineer has confirmed that the prepared subgrade and base course meet the design bearing requirements.
For this example, the floor package may include a 6-inch concrete slab over a compacted granular base, a vapor barrier where required by the building use and specification, welded wire reinforcement or rebar reinforcement, thickened slab edges, and saw-cut control joints. Areas below rack legs, loading zones, heavy equipment, and column bases may require a different detail from the open warehouse floor.
A typical reinforcement schedule could look like this:
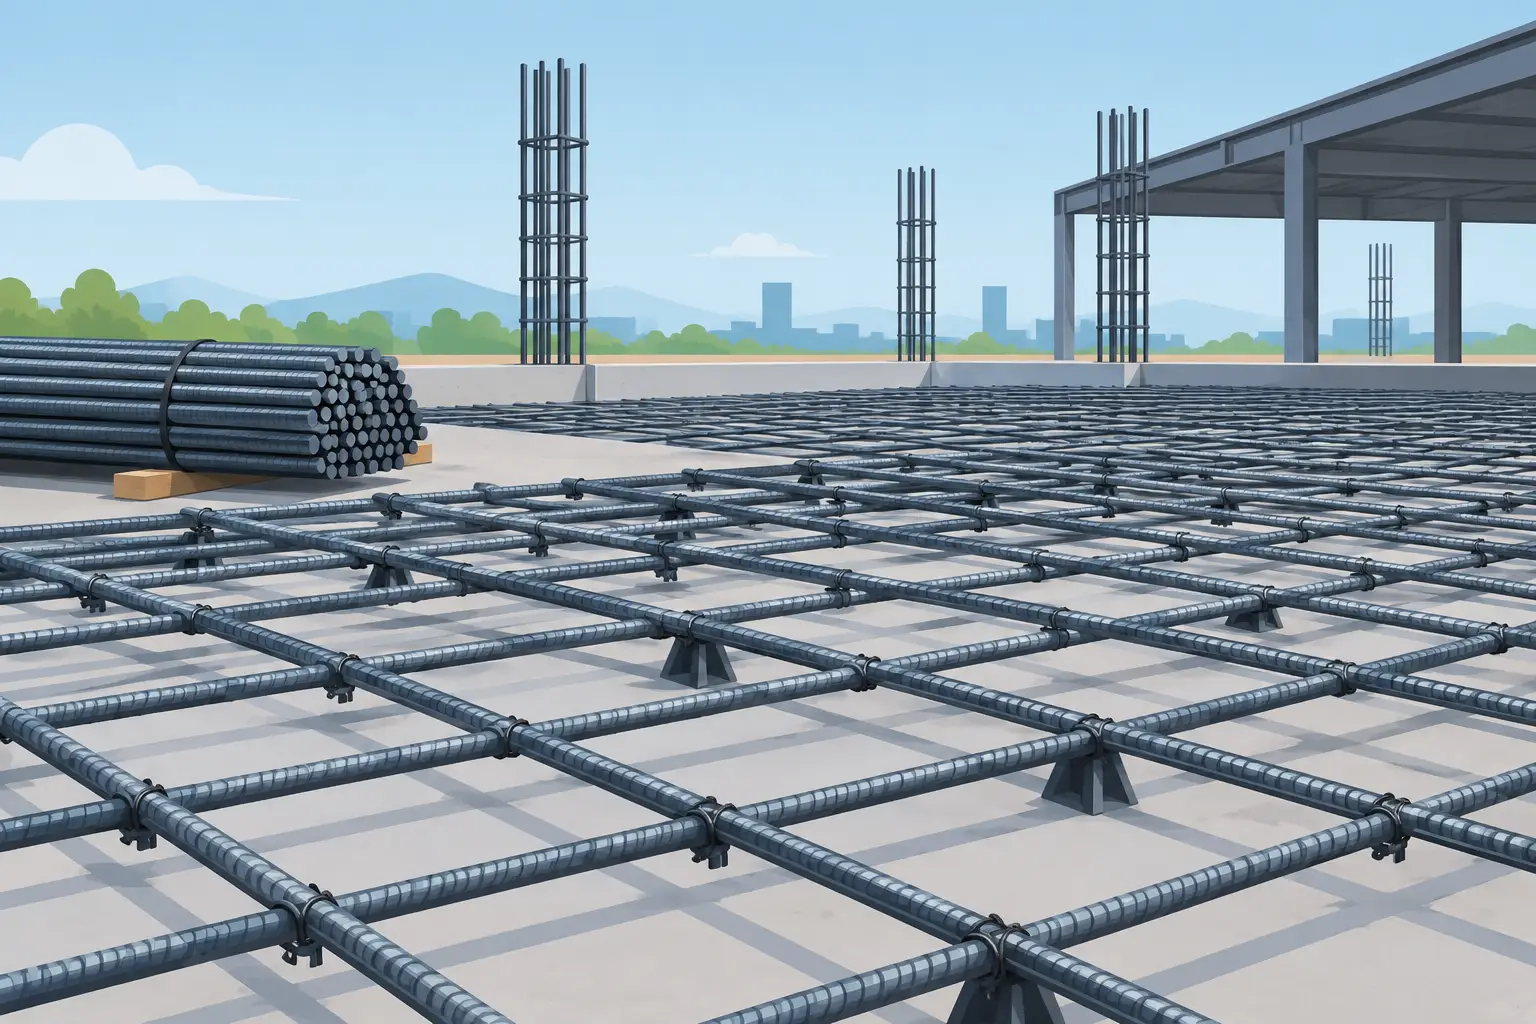
- 6×6 W2.9xW2.9 welded wire reinforcement for general crack control in the slab field, subject to the engineer’s design.
- #4 rebar around openings, slab penetrations, pits, and re-entrant corners where cracking is more likely to start.
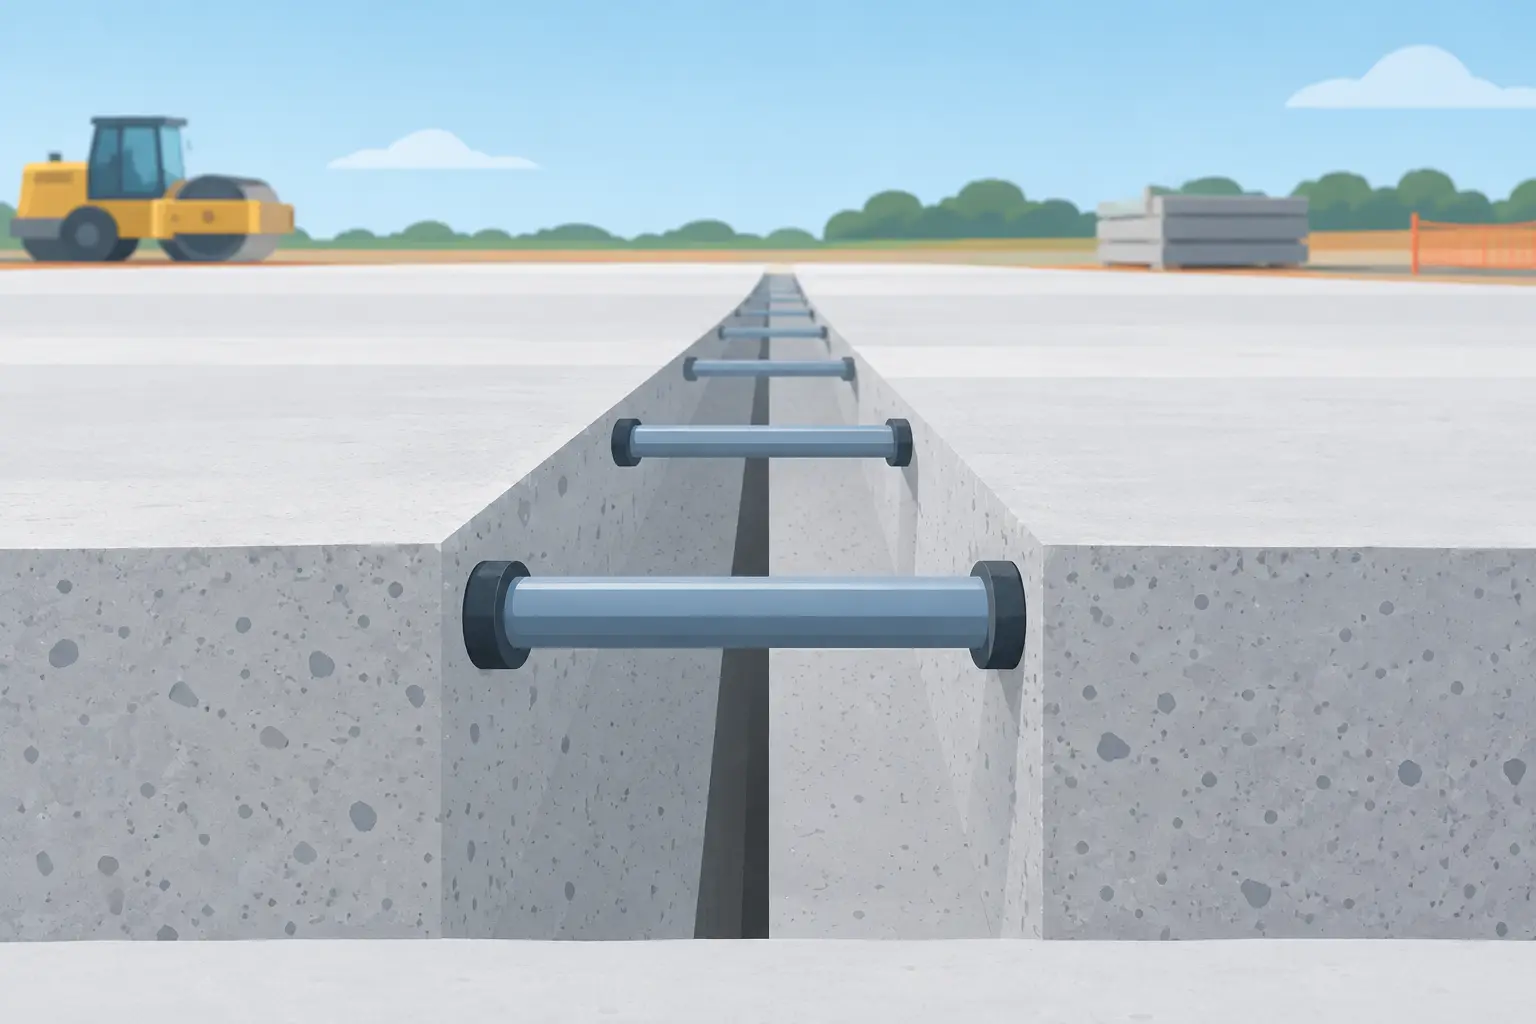
- #4 or #5 dowels across selected construction joints where load transfer is required.
- Additional bars or a thickened slab detail below high-load racking, machine pads, dock approaches, and other concentrated-load areas.
The exact bar size, mesh designation, spacing, lap length, concrete strength, and slab thickness depend on loading, soil conditions, joint layout, and local code requirements. A floor designed for light pallet storage is not automatically suitable for high-bay racking, reach trucks, loaded trailers, or steel-wheel equipment.
Start With the Ground, Not the Steel
Before reinforcement is delivered, the subgrade should be proofed, trimmed, and compacted to the project specification. Soft pockets, wet areas, unapproved fill, and trench backfill need attention before they are buried under a slab. If the base moves, the concrete can crack regardless of how much reinforcement is installed.
The crew should also verify elevations. A base that is too high leaves insufficient slab depth. A base that is too low can increase concrete volume and cost. Neither issue should be discovered while placing concrete.
Where a vapor barrier is specified, keep it continuous and repair tears before steel goes down. Coordinate penetrations, sleeves, drain bodies, and embedded items early. Cutting out work after the pour creates weak points and wastes time.
Getting Reinforcement Into the Working Zone
One of the most common site failures is not the wrong reinforcement product. It is reinforcement installed in the wrong position. Mesh rolled out directly onto the vapor barrier or base does very little for crack control until it is lifted into the slab. Pulling it up with hooks during the pour is inconsistent and should not be the placement plan.
Use bar chairs, slab bolsters, or approved supports to hold mesh and rebar at the location shown on the drawings. For many slab-on-grade applications, reinforcement is placed in the upper portion of the slab to control shrinkage cracking. The required cover and position must come from the engineer’s detail, especially where vapor barriers, exposure conditions, or heavier loads are involved.
For the 6-inch slab in this example, the crew may use suitable chairs at regular spacing to prevent the mesh from sagging under foot traffic and concrete placement. Chair height and spacing need to suit the reinforcement type and slab design. Light wire mesh needs enough support points to remain level. Heavier reinforcing bar mats may need stronger chairs or continuous bolsters.
Keep reinforcement clean enough for proper concrete bond. Normal mill scale is generally expected on reinforcing steel, but remove mud, heavy rust scale, oil, paint, and other material that could interfere with placement or bond. Store steel off the ground where possible, particularly on wet sites.
Laps, Ties, and Edge Details
Reinforcement sheets and bars must overlap according to the design documents. Do not guess lap lengths based on what fits conveniently in the slab bay. Lap requirements vary with bar size, steel grade, concrete strength, and the location of the splice.
Tie overlaps securely with tie wire so reinforcement does not separate when crews walk it or the concrete is placed. Ties are there to hold steel in position. They are not a structural replacement for the required lap length.
At slab edges, door openings, pits, and columns, follow the detail closely. These locations concentrate stress and often see early cracking when they are under-reinforced or poorly jointed. Re-entrant corners at dock doors and interior openings commonly need diagonal bars or other specified crack-control reinforcement.
Joints Are Part of the Reinforcement Plan
Reinforcement controls crack width. It does not eliminate concrete cracking. Concrete shrinks as it cures, and a warehouse slab needs planned joints to encourage cracking where it can be managed.
Control joints should be laid out in a practical pattern that suits slab thickness, building geometry, column locations, and traffic routes. Long, narrow panels and irregular shapes are more likely to crack unpredictably. The engineer or slab designer should establish the joint layout before the pour, not after finishing begins.
Saw cuts must be installed at the right time. Cut too early and slab edges can ravel. Cut too late and shrinkage cracks may form before the joints can do their job. The finishing contractor should have the saw-cut sequence, equipment, and labor ready as part of the pour plan.
Construction joints deserve the same attention. If concrete placement stops at a joint, check whether the detail calls for dowels, keyed joints, or another approved load-transfer method. Warehouse forklifts repeatedly crossing unsupported joint edges can cause faulting and spalling over time.
Where This Example Changes
The general slab field is only one part of the job. A warehouse with narrow-aisle forklifts and tall racking can place substantial wheel loads and rack-leg loads into a small area. A distribution building with dock traffic may need stronger edge details. A facility with machinery, freezers, washdown areas, or chemical exposure has its own design requirements.
For heavier-duty areas, the engineer may specify a thicker slab, higher-strength concrete, closer joint spacing, heavier reinforcement, fiber reinforcement, a post-tensioned slab, or dedicated equipment foundations. Fibers can be useful for shrinkage crack control and toughness, but they do not automatically replace welded wire reinforcement or rebar. That decision belongs in the engineered design.
Do not overlook the racking supplier’s requirements. Rack layout, leg loads, base plate dimensions, and anchorage all affect the slab design. A floor that works for forklift circulation may not work below a concentrated rack leg without additional design consideration.
A Practical Pre-Pour Check
Before ordering concrete, walk the floor with the drawings in hand. Confirm the base has been accepted, vapor barrier is intact where specified, reinforcement grade and quantity match the schedule, chairs are installed, laps are tied, and dowels are ready at the correct joints. Check that sleeves, drains, embeds, and blockouts are fixed in place and that the joint layout is marked clearly.
This is also the time to confirm delivery timing. Reinforcing steel, mesh, chairs, tie wire, and dowels should be on site before the crew is waiting. Splitting supply across several last-minute orders can turn a simple slab pour into a delay, particularly when a missing box of chairs leaves reinforcement sitting too low.
A good warehouse floor is built before the concrete is discharged. Use an engineered reinforcement schedule, order materials that match it exactly, and make steel placement part of the quality check rather than a rushed task on pour morning.
Related Posts