Rebar fabrication services reduce field cutting, support accurate placement, and help concrete crews keep schedules, inspections, and deliveries on track.

Anchor Installation Example for Concrete Crews
A post base, guardrail plate, or equipment bracket is only as reliable as the anchors holding it down. This anchor installation example shows the field process for installing a mechanical expansion anchor into an existing concrete slab, with the checks that prevent common callbacks: wrong hole size, poor hole cleaning, shallow embedment, or excessive torque.
The example is practical, but it is not a substitute for the anchor manufacturer’s installation data or the engineer’s design. Anchor size, embedment depth, edge distance, spacing, concrete condition, and load direction all affect capacity. Treat the drawing and approved product data as the controlling documents.
Anchor Installation Example: Mechanical Anchor in a Slab
Assume a crew is fixing a steel post base to a sound, existing concrete slab. The base plate has four holes and the approved detail calls for four 1/2-inch torque-controlled expansion anchors. The engineer has confirmed the slab thickness, concrete strength, anchor layout, and required embedment. The base must resist uplift, shear, and occasional lateral loading from the attached frame.
Before drilling, inspect the area. Confirm the slab is the specified structural concrete, not a thin topping, unreinforced patch, or suspended section with unknown services below. Check the base plate against the approved layout and make sure each anchor location maintains the required distance from slab edges, control joints, existing cracks, and adjacent anchors.
This step matters because an anchor can be installed exactly as instructed and still fail to meet design capacity if it is too close to an edge or set into weak concrete. When an edge breaks out under load, more tightening will not solve the problem. Stop and refer it back to the engineer or site supervisor.
Set out the base plate accurately
Position the plate, check alignment, and mark the hole centers through the plate. For a critical connection, use a center punch to keep the rotary hammer bit from walking when drilling starts. Remove the plate before drilling unless the approved method specifically allows drilling through it.
Measure the required effective embedment from the anchor data sheet, then add enough drilling depth to allow for drilling dust at the bottom of the hole. A depth stop on the drill bit is the simplest way to keep the crew consistent. Do not estimate hole depth by eye, particularly where anchors are close to their minimum embedment requirement.
Drill the correct diameter and depth
Use the exact drill bit diameter specified for the anchor. A 1/2-inch anchor does not automatically use a 1/2-inch hole. Each anchor system has a stated hole diameter, and using an oversize bit can reduce the expansion mechanism’s grip on the concrete.
Hold the rotary hammer square to the slab and drill to the marked depth. Keep steady pressure rather than forcing the bit. If the bit hits reinforcing steel, do not immediately cut through it or shift the hole without approval. Reinforcement is part of the structure, and moving an anchor can create an edge-distance or base-plate alignment issue.
Once drilling is complete, verify the hole depth with a gauge or marked rod. If the hole is too shallow, the anchor may bottom out before it reaches the required embedment. If it is substantially too deep, confirm that the selected anchor is still suitable and that dust has not accumulated where the expansion zone needs sound concrete.
Hole Cleaning Is Part of the Installation
For mechanical anchors, hole cleaning is often treated as a minor task. It should not be. Dust left in the hole can prevent the anchor from seating properly and can affect the way it bears against the concrete. For adhesive anchors, cleaning is even more critical because dust directly interferes with bond strength.
A typical clean-out sequence is blow, brush, and blow again using equipment sized for the hole. Follow the anchor manufacturer’s required number of cycles and use oil-free compressed air or an approved vacuum method where specified. The brush must contact the wall of the hole rather than merely pass through the center.
The practical test is simple: after the final cleaning cycle, the hole should be free of loose drilling dust and debris. If water, slurry, or deteriorated concrete is present, stop and confirm whether the anchor system is rated for those conditions. Do not assume a standard dry-hole anchor procedure applies to wet or saturated concrete.
Install and Torque the Anchor
Place the base plate back over the cleaned holes. Insert each anchor through the plate and into the hole, then tap it with a hammer until the washer and nut sit correctly against the plate. Avoid striking the threaded end directly. If the anchor will not reach the required setting depth with reasonable force, remove it and investigate the hole rather than driving harder.
Tighten the nut using a calibrated torque wrench to the manufacturer’s specified installation torque. The point is not to make it as tight as possible. Torque-controlled anchors are designed to expand at a particular installation torque. Under-torquing may leave the anchor insufficiently set, while over-torquing can damage threads, overstress the concrete, or reduce reliability.
For the four-anchor base plate, tighten in a cross pattern. Bring each nut into contact first, then make incremental passes until every anchor reaches the specified torque. This helps seat the plate evenly and prevents one corner from pulling down ahead of the others.
After tightening, visually inspect the connection. The plate should bear evenly on the concrete unless the approved detail includes shims or non-shrink grout. Check that the anchor projection allows full nut engagement and that no anchor is visibly tilted, cracked the surrounding concrete, or spun during tightening.
What Changes With Adhesive Anchors?
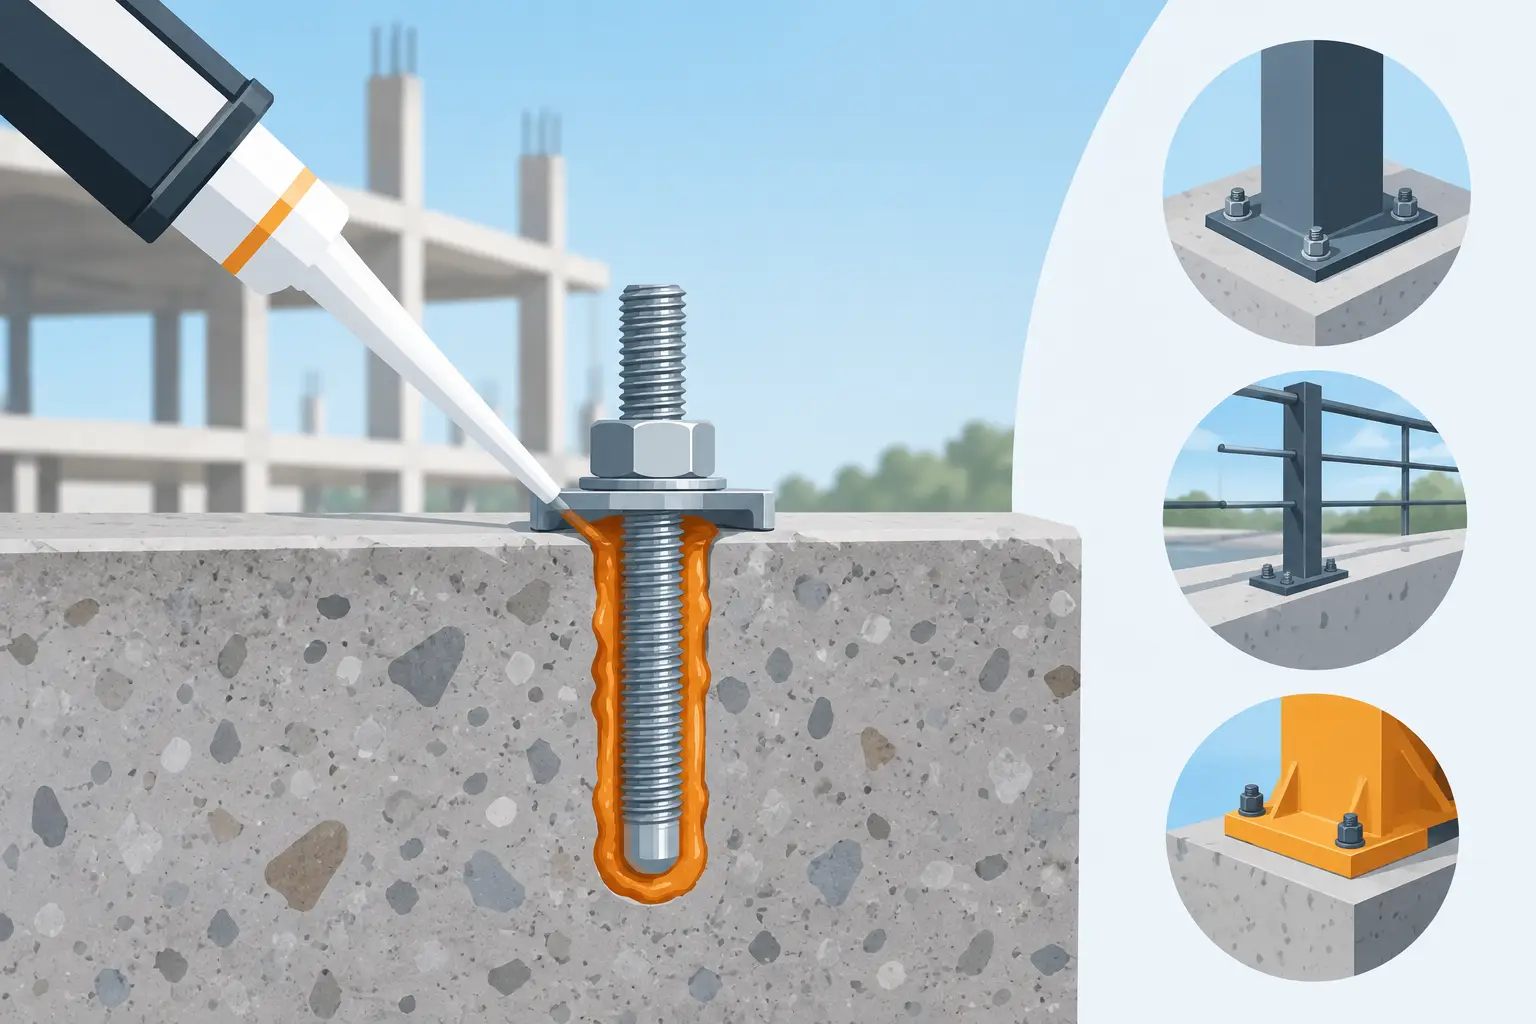
The process above is for a mechanical expansion anchor. Adhesive anchors are different enough that crews should not treat them as interchangeable. They are commonly used for post-installed reinforcing bar, threaded rod, close-to-edge connections, or situations where a designed embedment is needed without an expansion force against the concrete.
With adhesive anchors, the drill diameter and cleaning procedure must match the approved adhesive system exactly. The cartridge needs to be conditioned for the site temperature, mixed material must be discarded until the color is uniform, and the rod is inserted with a twisting motion to fully wet the hole walls. Most importantly, the anchor must remain undisturbed for the full cure time before it is loaded.
Cold weather, hot concrete, water-filled holes, overhead installation, and cracked concrete can all change the approved product selection or cure period. If the work is structural, the installer should have the current manufacturer instructions on site and record the batch information, hole conditions, installation time, and cure release time where required.
Checks Before the Crew Moves On
A good anchor installation is easier to verify while the crew, tools, and layout are still in place. For structural or safety-critical connections, document the installation rather than relying on memory at handover.
Before releasing the area, confirm these jobsite basics:
- The anchor type, diameter, quantity, and spacing match the approved detail.
- Hole depth, edge distance, and embedment meet the stated requirements.
- Holes were cleaned using the procedure required for that anchor system.
- Mechanical anchors were torqued correctly, or adhesive anchors completed their specified cure time.
- The base plate, bracket, or fixture is fully seated and any required inspection record is complete.
Proof testing may also be called for on certain projects, especially where anchors support overhead items, safety barriers, retrofit steel, or critical equipment. Proof loading is not a casual pull test with whatever equipment is available. The load, duration, sampling rate, acceptance criteria, and testing equipment should be set by the engineer or project specification.
Common Site Mistakes That Cost Time
The most expensive anchor problems usually start with rushing. Drilling through a base plate without checking edge distance can lock a crew into a bad layout. Using a worn bit can create an oversize hole. Skipping cleaning can turn a sound installation into a questionable one. Tightening with an impact gun instead of checking final torque can leave no reliable record of what was actually installed.
Another common mistake is treating every concrete slab the same. New concrete may not have reached the required strength. Older slabs may have hidden cracking, low strength, shallow cover, or embedded services. If the condition does not match the design assumption, pause before installing. A short conversation with the engineer is cheaper than drilling out a failed connection and repairing concrete afterward.
Keep the approved anchor data, suitable drill bits, cleaning tools, depth gauges, and a calibrated torque wrench available before starting. That small amount of preparation keeps the connection moving and gives the next trade a properly fixed, dependable point to build from.
Related Posts