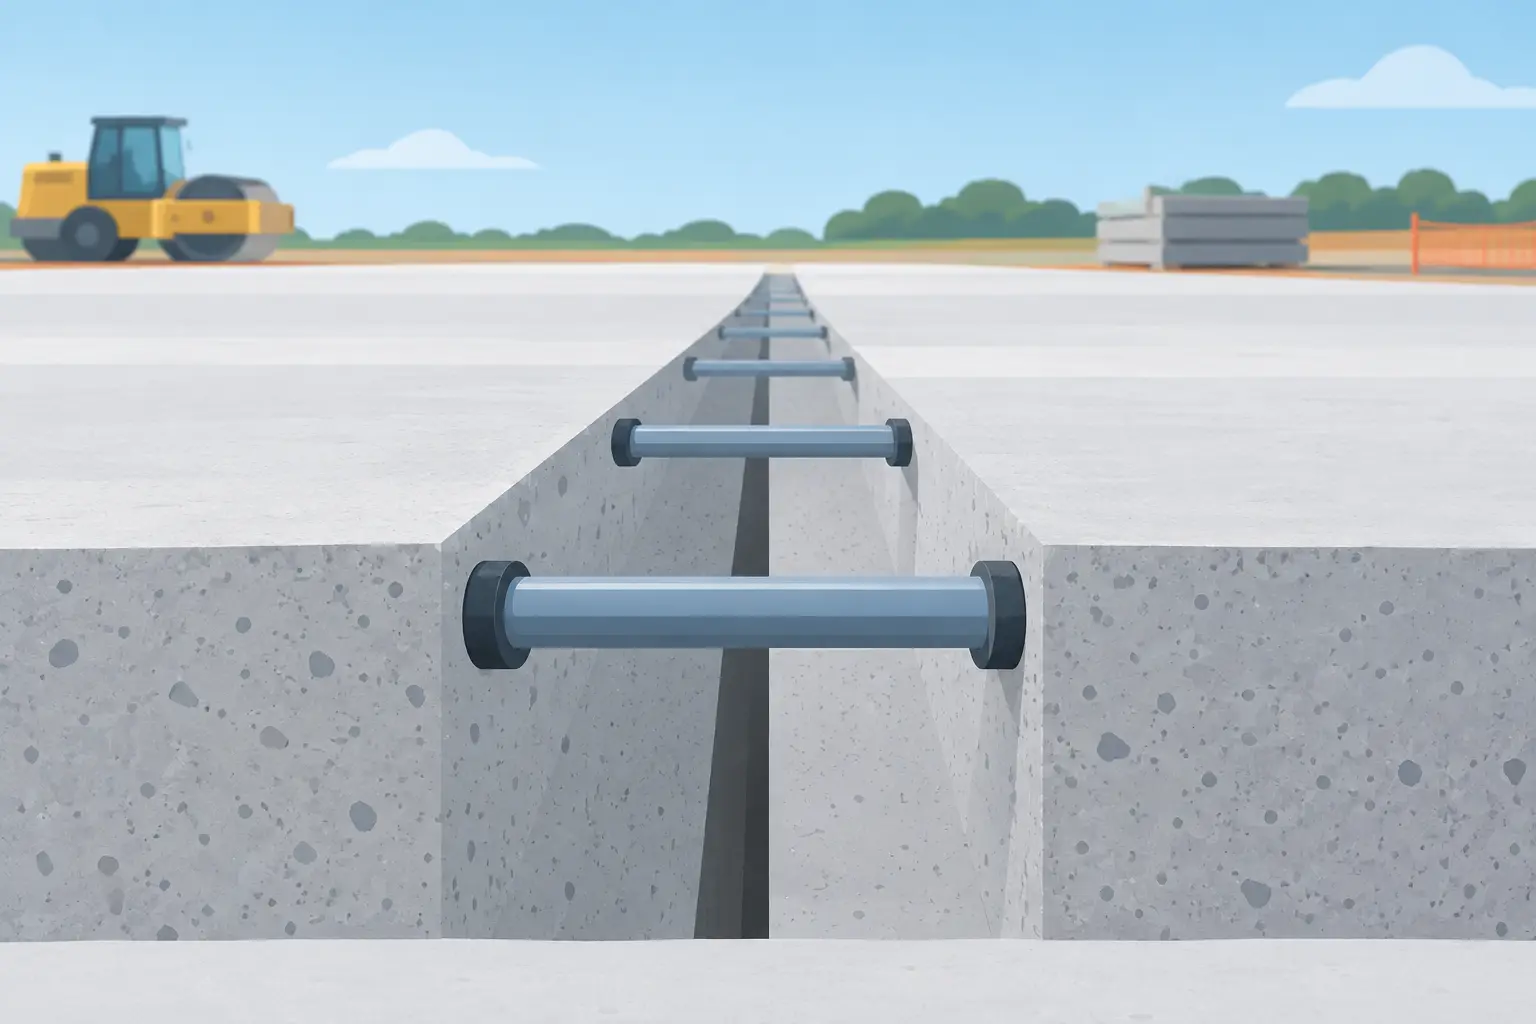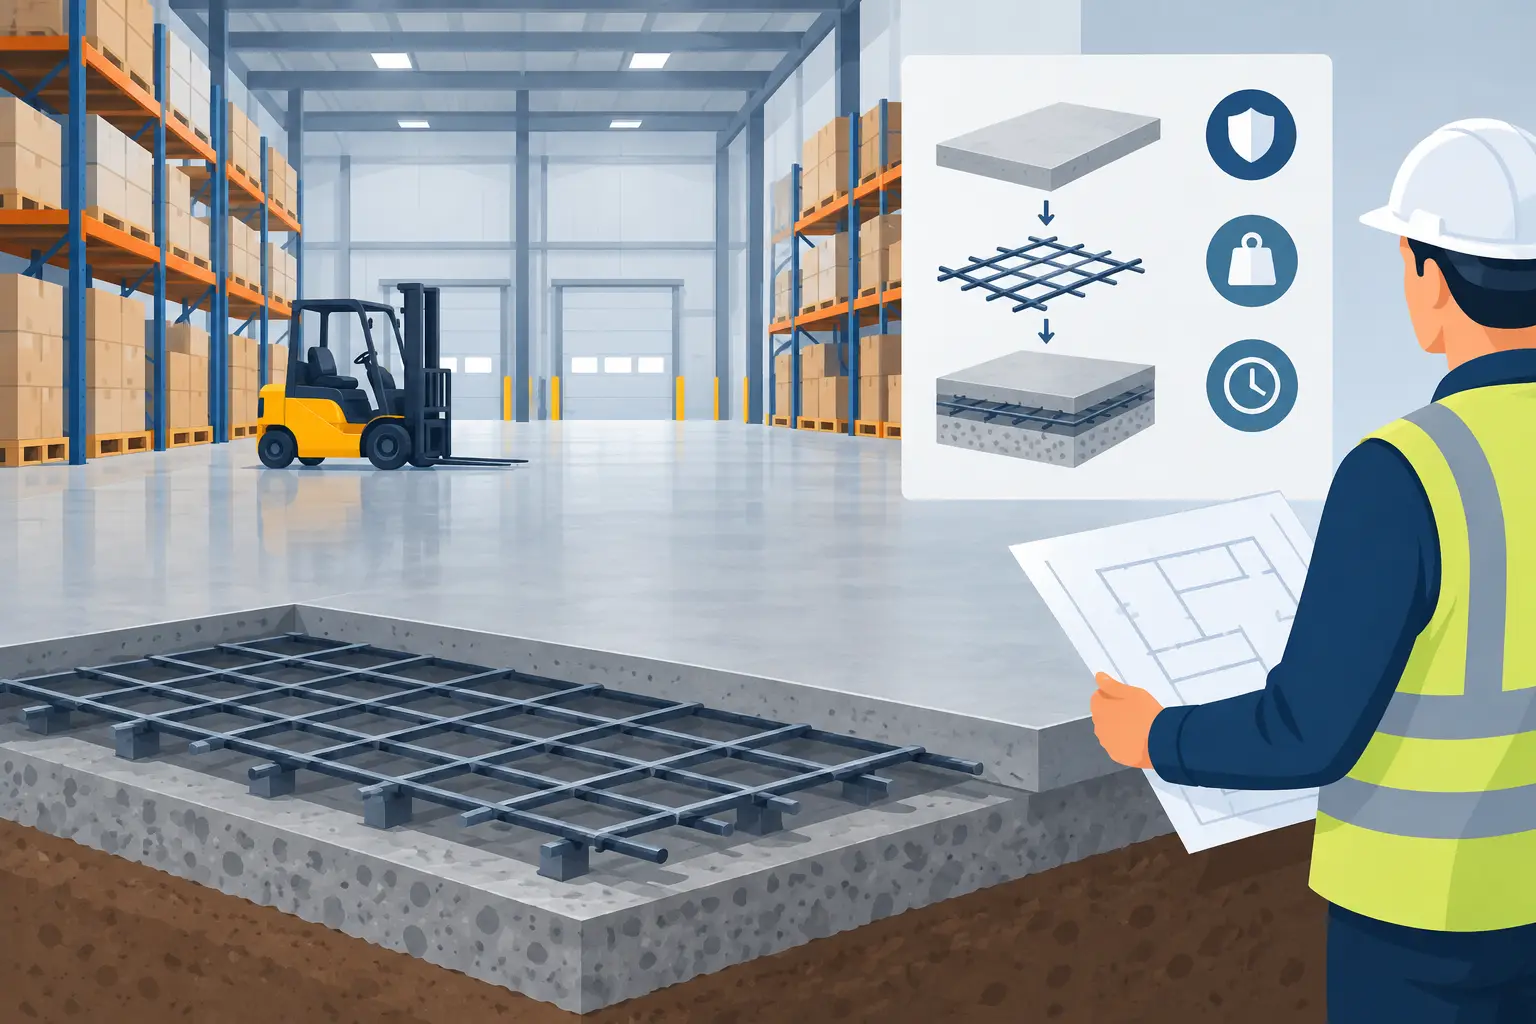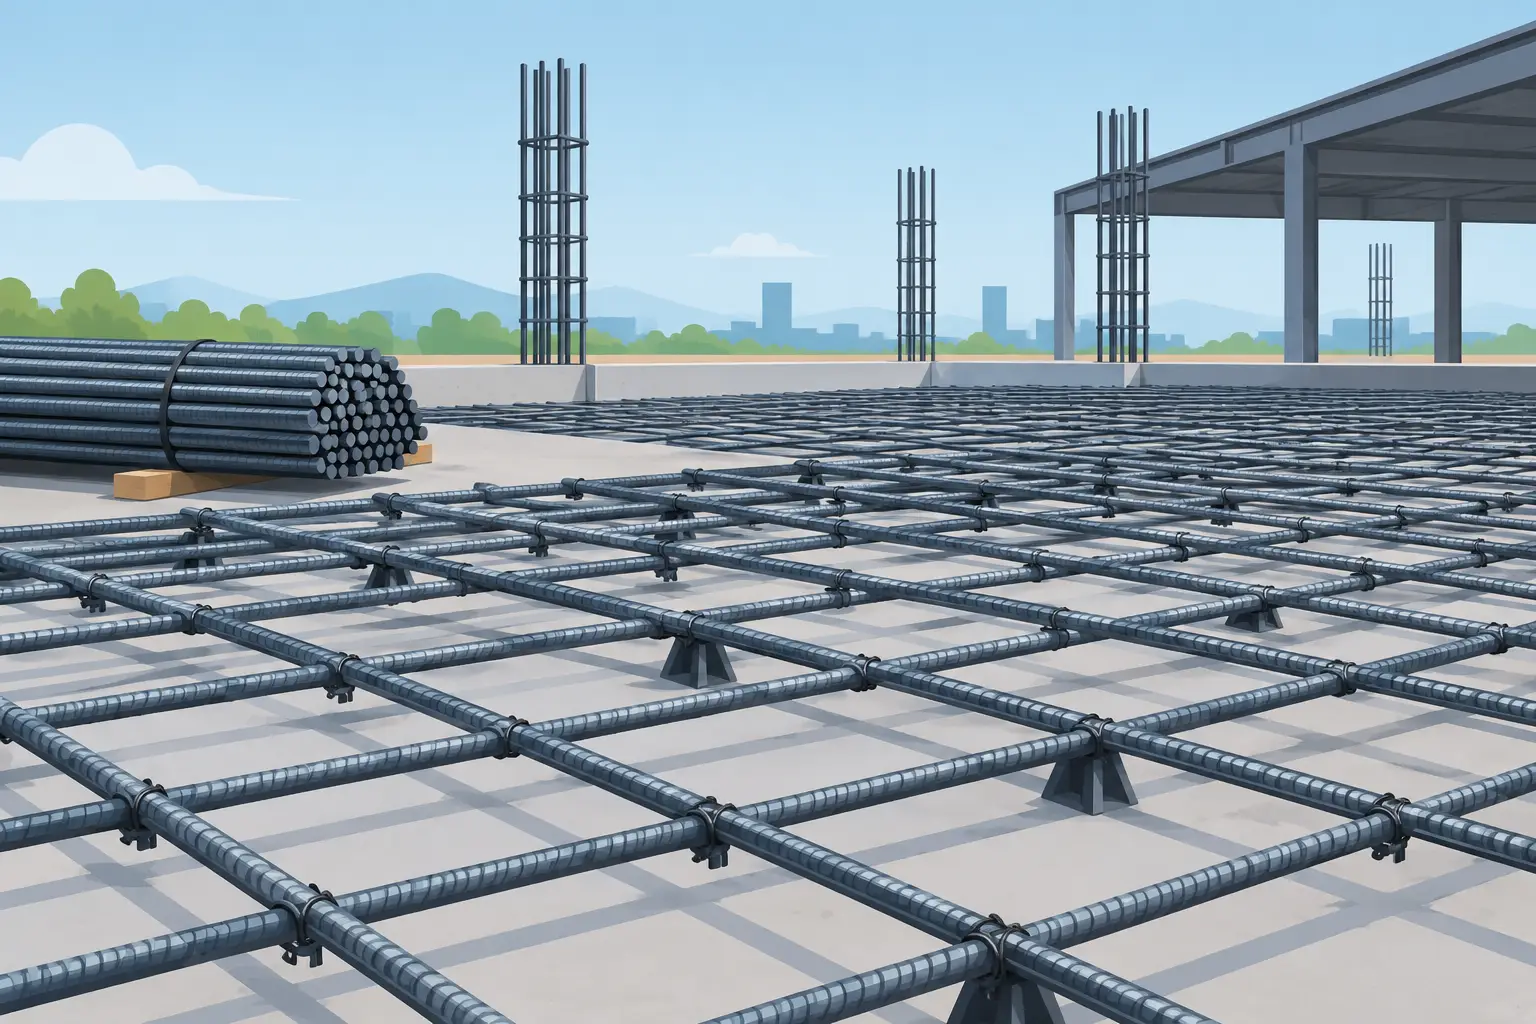
Learn how dowel bars transfer loads across concrete joints, reduce faulting, and support durable slabs with correct sizing, alignment, and installation.
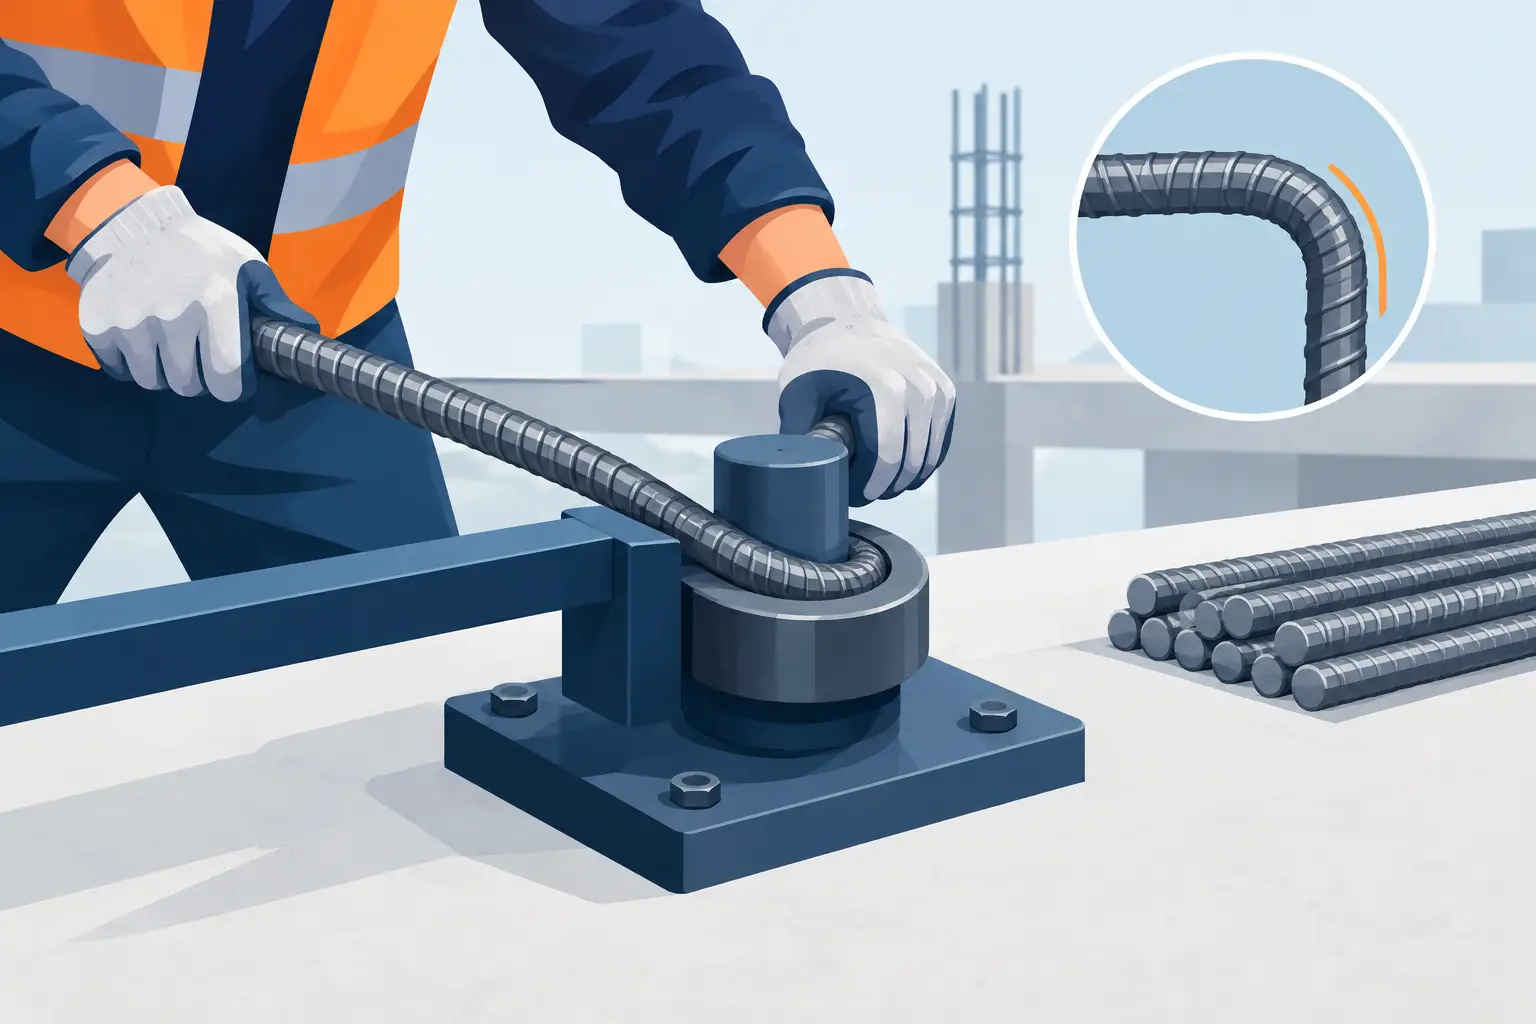
How to Bend Reinforcing Bar Without Weakening It
A bend that looks close enough on the ground can create a real problem once the concrete is poured. When learning how to bend reinforcing bar, the goal is not simply to change the bar’s shape. The bend must match the drawings, maintain the required inside radius, and leave the steel fit for its structural purpose.
For a one-off hook, a footing corner, or a small batch of stirrups, careful site bending can save time. For repeated shapes, heavy bar, or reinforcement with tight tolerances, fabricated bar is usually the faster and more reliable option. Either way, work from the approved reinforcement schedule, not a guess or a tape-measure mark made after the pour is already booked.
Start With the Bar Schedule and Approved Bend Details
Before setting up a bender, confirm the bar mark, diameter, shape code, overall cutting length, leg lengths, bend angle, and required bend diameter. These details should come from the structural drawings, bar bending schedule, or engineer’s instructions. A bar that is the correct overall length can still be wrong if its bends are in the wrong location or its legs are measured from the wrong point.
The key measurement is usually taken from the tangent point of the bend, where the straight length transitions into the curve. Do not assume the outside corner of a finished bend is your measuring point. The bend consumes length, and the amount varies with bar size, bend radius, and angle. For shaped reinforcing steel, the schedule should already account for this bend allowance.
Also check whether the bar is intended for a lap splice, development length, hook, seismic tie, or a standard stirrup. Those applications can have specific code and engineering requirements. A 90-degree bend may look similar across several uses, but the required hook extension and inside diameter may not be the same.
Choose a Tool That Matches the Bar Size and Job Volume
The right tool depends on bar diameter, quantity, and the accuracy required. Light work can be handled with a manual rebar bender fixed to a solid bench or heavy base. A manual bender gives good control for small quantities, provided it has the correct bending pin and former for the bar being used.
For frequent work or larger-diameter reinforcing bar, a powered rebar bender is the practical choice. It produces more consistent angles, reduces physical strain, and is less likely to leave uneven bends from repeated repositioning. Hydraulic benders are useful for heavier bar, but they still need the correct rollers, pins, and settings to avoid flattening or damaging the steel.
A rebar cutter-bender can be efficient where several identical bars must be cut and bent in sequence. On a busy slab, retaining wall, or foundation job, that consistency is worth more than the apparent savings of bending every piece by hand.
Do not use improvised methods such as bending bar around a trailer hitch, scaffold tube, machine bucket, or timber formwork. These methods give poor control over the bend radius and can damage the bar, the equipment, or the person doing the work. They also make it difficult to repeat the same shape accurately.
How to Bend Reinforcing Bar Step by Step
Set up the work area on firm, level ground with clear access around the tool. Keep cut ends, offcuts, tie wire, and other trip hazards out of the bending area. Wear gloves, safety glasses, work boots, and clothing that cannot catch in moving equipment. When using powered equipment, keep hands clear of the bending head and follow the machine manufacturer’s operating instructions.
First, identify the correct bar and inspect it. Reject or isolate bar that is heavily rust-scaled, deeply pitted, kinked, contaminated with oil or paint, or visibly damaged. Light surface rust is common and is not automatically a problem, but loose scale and serious section loss are different issues.
Next, measure and mark the bend location using the dimensions from the bar schedule. Mark the bar clearly with a paint marker or chalk that will remain visible during handling. For several identical pieces, make a simple stop block or measuring jig so every mark is taken from the same reference end.
Place the bar against the bending pin or former with the mark aligned to the machine’s bend reference. Check the direction of the bend before applying force. This sounds basic, but reversed hooks and stirrups are a common site error, especially when left- and right-hand shapes are mixed in the same bundle.
Apply steady force and make the bend in one controlled movement where possible. Stopping and restarting can leave a faceted bend rather than a smooth curve. On a powered bender, use the angle stop or gauge, but verify the first completed piece with a square, angle gauge, or template before running a full batch.
After bending, measure the finished legs and inspect the inside of the curve. The bar should not show cracking, splitting, severe flattening, or a sharp crease at the bend. If it does, do not straighten it and try again. Set it aside, identify the issue, and replace it with a new bar bent using the correct setup.
Keep the Correct Bend Radius
Reinforcing bar is designed to be bent, but not bent sharply around an undersized pin. A bend that is too tight concentrates stress in the steel and can cause cracking, visible damage, or reduced performance. The minimum inside bend diameter depends on the bar size, grade, bar type, and applicable building code or project specification.
That is why the bending former matters. The former establishes the inside radius of the bend. A piece of pipe, a random pin, or the edge of a steel plate is not a substitute unless it has been confirmed as suitable for the scheduled bend.
Do not rely on a universal rule such as using the same pin for every bar. Larger bars generally require larger bend diameters, and specialty reinforcement may have additional restrictions. If the drawings do not state the requirement clearly, check with the engineer or reinforcement detailer before bending.
Never Heat Rebar to Make It Easier to Bend
Heating reinforcing steel with a torch may make the bar feel easier to shape, but it can alter the material properties and compromise compliance. For standard reinforcing work, bends should be made cold using suitable equipment and the specified bend diameter.
The same caution applies to welding. Unless the reinforcement is specifically identified as weldable and welding is covered by the project requirements, do not weld bars to create shapes, repair breaks, or hold structural intersections together. Tie wire, approved couplers, and properly detailed laps serve different purposes than an unapproved weld.
Avoid Re-Bending and Straightening
One of the most expensive small mistakes on a reinforcement job is a bar bent in the wrong direction. The temptation is to pull it straight and bend it again. That may create localized damage even when the bar appears acceptable from a distance.
Re-bending rules vary by code, bar grade, and project requirements. Some situations may allow controlled correction with approval, while others require the bar to be replaced. Treat a wrongly bent bar as a quality-control issue, not a quick fix. Check the project specification or get direction from the engineer before making any correction.
This is particularly relevant around starter bars, column bars, and bars projecting from a completed pour. Moving those bars without approval can affect concrete cover, splice length, alignment, and the structural load path.
Check Every Batch Before It Reaches the Formwork
For a few bars, inspect each piece. For a larger run, inspect the first piece, a sample during production, and the final pieces in the batch. Compare them with the scheduled dimensions and use a template for repeated stirrups, U-bars, hooks, or crank bars.
Check four things: the correct bar mark and size, the bend direction and angle, the leg dimensions, and the condition of the bar at each bend. Then bundle or tag completed bars by mark so they do not get mixed with similar-looking shapes on site.
Keep finished reinforcement off mud and standing water, and avoid dragging it across rough ground where bends can be knocked out of square. A properly bent bar still needs correct placement, concrete cover, bar chairs, tying, and inspection before the concrete arrives.
When Fabricated Rebar Is the Better Call
Site bending is useful for small adjustments and simple shapes, but it has limits. Order cut-and-bent reinforcing steel when the job has repeated shapes, heavy bar, congested reinforcement, detailed seismic work, or a tight pour schedule. Factory-style fabrication improves repeatability and reduces the risk of labor time disappearing into measuring, correcting, and sorting bars.
It also helps to order a small allowance for approved site needs rather than assuming every change can be solved by bending whatever stock is left over. The cheapest bar is not the one with the lowest unit price if it holds up the crew, fails inspection, or delays a pour.
A clean bend starts with the right bar, the right former, and dimensions taken from the approved schedule. Get those three points right before the first bar goes into the bender, and the reinforcement will arrive at the formwork ready to do its job.
Related Posts